


Hello friends!
I've moved the blog over to Wordpress and will be publishing there from now on.
It's still a work in progress, but I hope to be on a regular blogging schedule soon.
I hope you'll join me :)
apaperbuffet.com
Stephanie

I’ve always wanted an ice cream maker. I’ve stayed away from them because 1) I don’t have a lot of room in my freezer and 2) my hips don’t need an ice cream maker in the house.
I love to cook, and cook a lot from scratch. I’m happy to take shortcuts here and there, but the majority of my meals are cooked from scratch. I like the idea of knowing what’s in my food and having control over it (Type A personality right here).
Recently, I started hunting for coconut ice cream. A friend and I had eaten lunch at a Thai place we go to often, but I never realized (or had room) for dessert; I never realized they had coconut ice cream! It was so creamy and delicious, and perfect after a spicy meal. I still think about that ice cream, hence the beginning of the hunt.
The closest I could find to coconut ice cream was ice cream made with coconut milk at some local health food stores. I won’t drop names because while it`s delicious, I think it’s overpriced. I understand it’s a small business, and the stores selling it also need to make money, but at $9.00 per pint it’s not going to be in my budget on a regular basis.
So while grocery shopping last week…I walked by this:

President’s Choice chill and stir ice cream maker. It’s small, compact, and super cute!
And on sale.
At a regular price of $30, it wouldn’t blow the budget, but at $25, it jumped into my cart.
I did think about putting it back, remembering point #2 as previously expressed, but then realized that I could make my own coconut milk ice cream and it would only take a few batches to pay for itself. I thought about all the fresh ingredients I could use to make frozen treats and happily walked to the checkout.
I put the bowl in the freezer as soon as I got home and started researching recipes. I had some coconut milk in the pantry, so I started with coconut milk ice cream recipes.
I settled on this mint chip recipe from The Nourishing Gourmet (I know, you’d think I’d make coconut ice cream first, right? but I didn’t have any shredded coconut and had just! come back from the grocery store).
I let the base sit in the fridge overnight, as I had to wait for the ice cream bowl to freeze.

I’m so happy with the way the coconut ice cream turned out. It was really rich and creamy, you’d never know it was “good for you” ice cream. I brought it to a friend’s place- she is quite the connoisseur of ice cream and she loved it too.
I’ve been collecting ice cream recipes all week, and there are some healthy and some really indulgent ice creams out there, but now I’ve got a whole summer to experiment.
I tried making frozen yogurt yesterday, using Greek yogurt. The recipe got rave reviews on the site where I found it, but mine was rock hard. Even after leaving it out for 15 minutes, it was still rock hard and I actually broke the plastic container it was in when I tried to scoop it out. I’ll probably try again, but it may not be for a while.
Do you have an ice cream maker? (or make ice cream without one?)
What’s your favourite flavour?
If you remember, I brought back some amazing Cowichan yarn from BC, knit up some headbands and thought about dying the ivory yarn. I bought some icing dye (because it’s non-toxic and I don’t have to worry about acids and fresh air, and a gas mask and such) and dyed some yarn green and made one headband. I loved the process and seeing how the yarn absorbed the dye and then knitting it up.
If you follow me on Instagram, you may have seen the process.

I wound up all the yarn I had into skeins and picked my colours. I decided not to dye anything more green and just to focus on the yellow and blue.
The blue looked lovely in the pot- the dye was Cornflower Blue.
While still lovely, when I took the yarn out, I realized there was a lot of purple in the yarn, and not quite the blue I had wanted. After some research, I realized there are some red pigments in blue dye, and while the Cornflower Blue I picked up was beautiful, it’s not one of the ‘true blue’ that some other fibre artists have used. The mini skein had really lovely shades of purple, but the two larger skeins had too many light purple areas. I think this was because I didn’t have a large enough pot for all the yarn so the dye didn’t pick up on all the fibres. I had wanted to dye the large skeins together to give people enough yarn for a larger project, but I then had to dye them again, and did it separately.

too much light purple
I dyed them each again and am so much happier with the results. While each skein had the same amount of water and dye, one is slightly darker than the other. The blue and purple in the yarn reminded me of the deep ocean, so I called this lot Tidalwave.
You can see a slight progression in the darkest the the lightest lot (the mini skein is the lightest)


All the yarn is now up in the Knitley Road shop; the large skeins are 50 yards, and the mini skein is 25 yards. If you do need more than 50 yards, I’d recommend alternating rows of Tidalwave 001 and Tidalwave 002 to blend them in more naturally (the same way you may knit with variegated yarn to avoid colour bunching). This yarn is classified as super bulky, however when I bought it, I was told it could be further spun if you wanted worsted weight (or maybe even more…while I’d love to learn, the last thing I need is another hobby- so no spinning for me!…yet)
I’ve got another colour to share with you, but the weather hasn’t been cooperating and it’s been difficult to find time to take pictures.
Happy Knitting!


This post is very delayed…mostly because the gift-giving was delayed so I couldn’t share it until the special little-ones received their gifts.
Last summer I made pillowcase-dresses for two of my friends’ daughters. Here’s one of the finished dresses (lets call this Fabric  no.1) –>
I had some fabric left over from each dress and designed to make each little girl a blanket for their First Birthdays.
Let me first say I have never quilted before.
I learned how to sew the seams so that the fabric lays flat, and how to make borders…thank goodness for You Tube! There are so many great resources on the interwebs; I’m a very visual learner so while reading a book with instructions is great, watching videos is much better for my learning style.
Here’s the quilt top to the blanket using Fabric no. 2)

The quilt tops take the most time, all the cutting, piecing, arranging and then sewing. For the backing I decided to use one large piece of flannel. I sandwiched some cotton batting (I used Warm and Natural) between the flannel and the quilt top and started to quilt the blanket.
I decided to keep the lines on a vertical/horizontal plane, and quilted in straight lines, at equidistance to each other. My sewing machine came with a quilting guide, I was very happy to have it as I can’t cut/sew a straight line on my own to save my life.
Let’s go back to Fabric no 1 (I didn’t take any finished pictures of Fabric no. 2 blanket).
 I like the ‘crinkly’ look of quilts, so I didn’t wash the fabric before hand to preshrink it, I wanted that to happen after it was sewn.

Both blankets are lap-size, perfect for the car or stroller or little naps on the couch.
Overall, I`m pleased with how they turned out…I’m less intimidated by my sewing machine now, am very friendly with my seam-ripper and well…I vow to conquer the elusiveness b*tch that is binding. (I used this amazing tutorial…sewing the binding isn`t difficult, but you do have to go slow and learn to sew a straight line…hence my frustration)
These little blankets are basically warm up for my next quilting adventure…a quilt for my Queen size bed. I bought the fabric last summer on a birthday shopping trip to Michigan and bought the Alice Quilt Pattern by Red Pepper Quilts.
I don`t know when I’ll be starting, but I’ll be sure to post the process…maybe you can give me tips on sewing straight lines?
Happy Wednesday!
Happy Family Day! Here in Ontario it’s our first long weekend of the year, Family Day. I’m grateful for an extra day to get things done…sometimes the weekends are just not enough time to get everything done.
Last year I made some cards and invitations for a bakery in a small town outside of London. I kept the design simple, but I loved the impact the white space and the bright colours had.
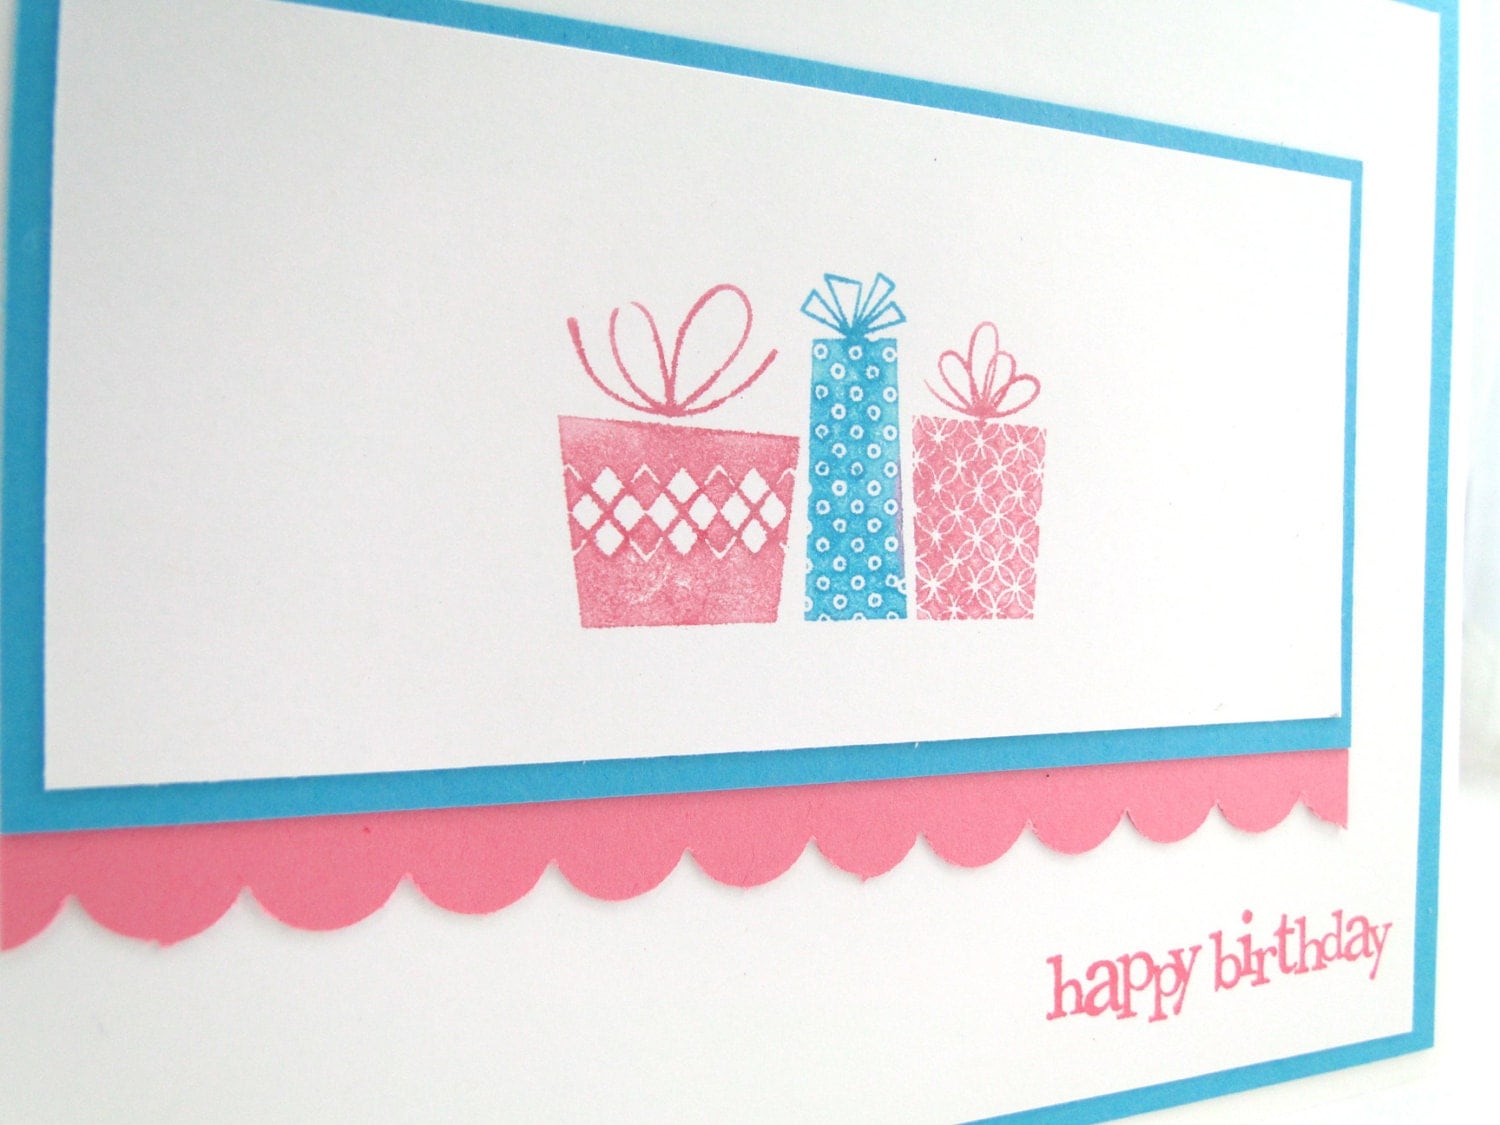
I love this turqoise and pink card, the little scalloped edge, the patterns on the presents…love it!
I made another card to coordinate with the pink and turquoise and this time, I used the balloon stamp from the set.
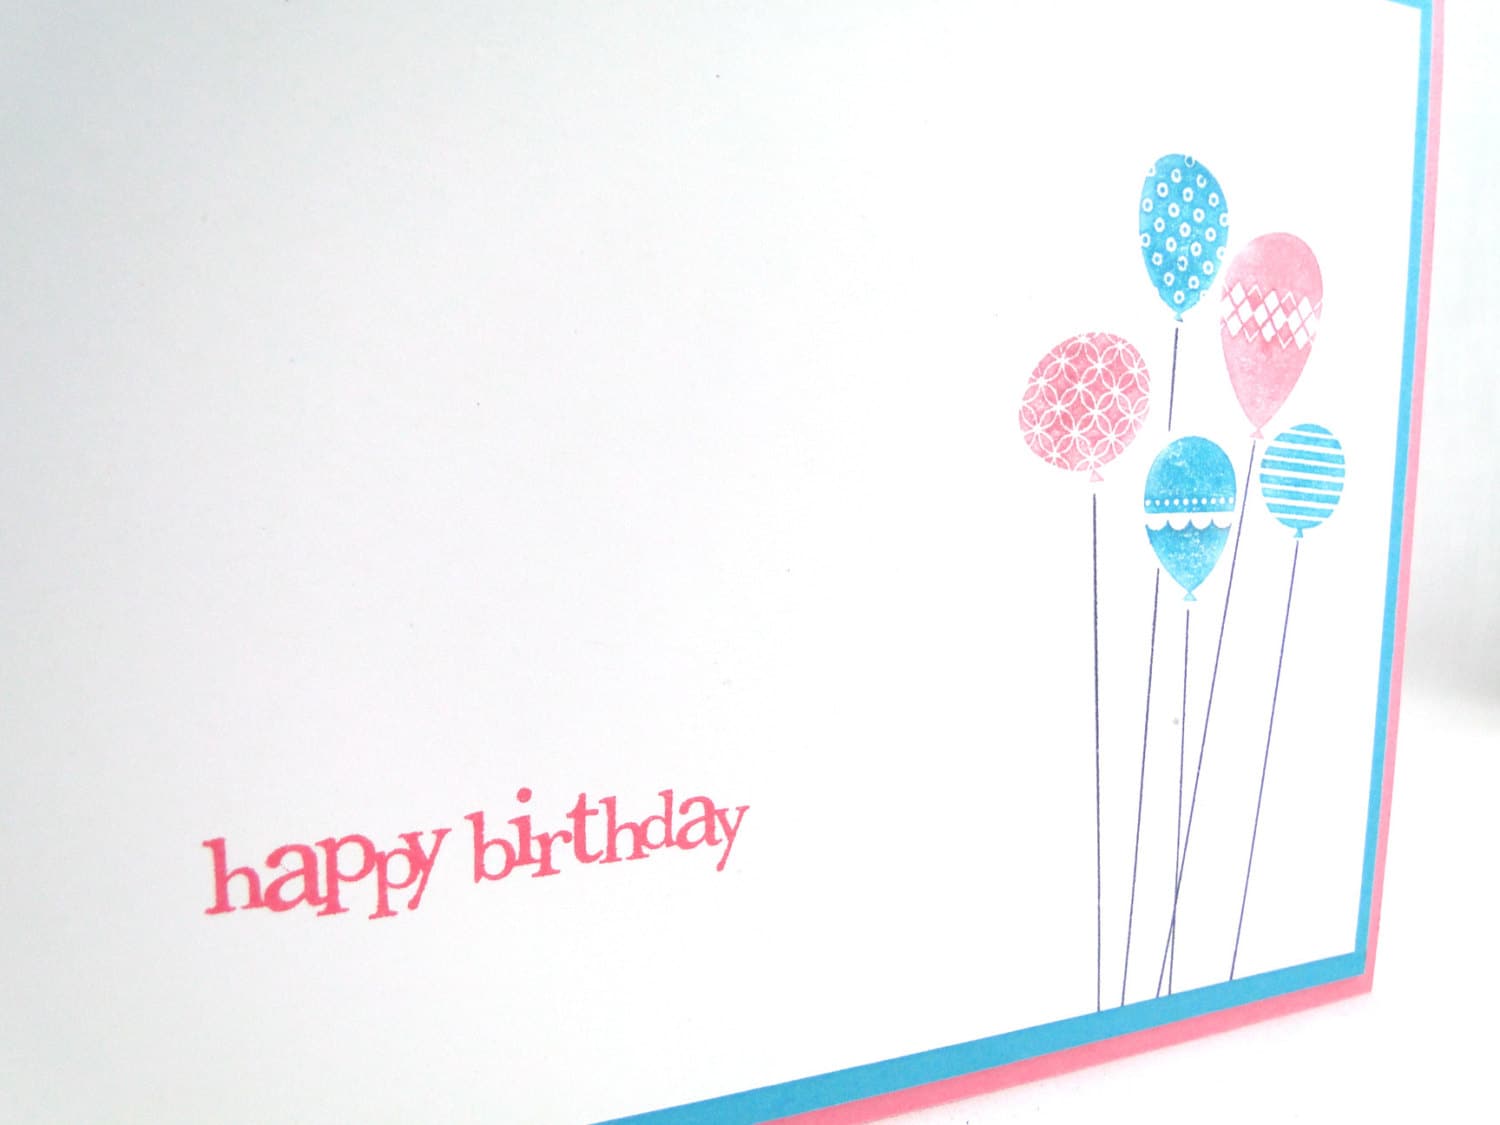
I don’t often use bright colours, I tend to stick to the earthy colours, but I love how these looks and need to remember to branch out from my routine.
Both cards are available in the A Paper Buffet shop and I’ve got more to list and share with you.
Happy Monday!
Things have been quiet here in blog land…I’ve been busy with work, custom orders and Knitley Road and life outside of work, custom orders and Knitley Road.
I’ve a number of projects to share with you, so many I don’t really know where to start!
The first one I’ll share is a knit project I actually made for myself. Knit items for me are few and far between…I started this sweater last June, put it down for months and months and picked it back up over the Christmas holidays and finished it up a few weeks back.
I saw this pattern in Vampire Knits by Genevieve Miller, it’s the Lore Hoodie by Cirilia Rose- the hoodie on the cover.
I picked a Peruvian wool close to the yarn used in the original one and I love how it turned out.


The lighting in the living room is much better than in front of the mirror, so I’m having Twiggy model it for me.
For my first (adult) sweater, and first item I knit for me that’s not a scarf, I’m so happy and have completely caught the “knit-myself-a-sweater” bug. I have a few patterns earmarked for the next one, but I haven’t picked one just yet.
I’ve a few more projects to share with you, some paper, and some fibre, and a few others…
Happy Saturday!
I brought back some beautiful wool from B.C., some big and bulky Cowichan yarn. I brought back ivory and dark grey; the yarn is virgin yarn, meaning it’s undyed. Depending on the sheep, there’s just a few colour variations: ivory, brown and 3 shades of grey.

The wool is very warm and it was perfect for these headbands I made for Knitley Road. Knit up on size US 15 needles, they are bulky but oh so warm!
I made one for myself and wore it during our recent cold snap; -25C with the windchill and my ears were nice and toasty.
I’m thinking about trying my hand at handpainting the ivory yarn and knitting up some hats with the coloured yarn…that’s pretty far down the “to-do” list, but I’m hoping I do find some time to try it.
I really love this yarn and can’t wait to work with it again; it’ll make great warm hats and cowls. I’d love to make some mittens, but I’ll have to do some test patterns because it’s so bulky I don’t know if the mittens will actually move.
Stay warm!
I had been very envious of other shops who had a model or dress form for their product photography. I loved the idea of my scarves on a hanger on a bleached wood wall, but it was hard to show the details of the items and how they would lay on a person. After much searching, price comparing and lamenting over the ridiculously high number of American companies who would not ship to Canada (seriously? it’s 2013!)…I found her.
Meet Twiggy:

She looks good in any colour and doesn’t talk back- the perfect business partner!
I think it’s made a big difference in the photos in the shop and it’s much easier to show how a scarf can be tied, or how high a cowl really is.

I’m really looking forward to making some more cowls and being able to have them photograph more realistically for my customers.
Have a peek at Knitley Road and let me know what you think!
Happy Tuesday!
Can I still say “Happy New Year"?! I’m not sure what the statute of limitations are on that phrase…but since it’s still January, I’m saying it anyways. I’ve been quite busy since I returned from my Christmas holidays…not counting the 5 days I battled a bad cold and did nothing but watch Netflix, nap and fit in some knitting on my sweater.
I’ve been working on custom orders at A Paper Buffet and trying to stock up Knitley Road using some lovely yarn I brought back from B.C.
I’ll be sharing some projects with you this week, and show you how Knitley Road got a bit of a make-over thanks to a new photo set-up.
Happy Sunday!

I’d seen recipes for homemade hot chocolate a few times, but hadn’t ever tried them out. When I came across this recipe for homemade peppermint hot chocolate, I was sold!
I found the little paint cans at my bulk food store and thought they were the perfect way to see the layers and a fun little present.
The recipe calls for 1 cup of each powdered milk, cocoa and sugar; my little pail wouldn’t fit that so I cut it down to 3/4 cup of each. If you need to adjust the measurements, just be sure to keep the 1:1:1 ratio. I also adjusted the amount of chocolate chips and candy canes from the original recipe to fit in the pail.
My peppermint hot chocolate pails contain:
Layer them all in your container; the mouth of the little pail isn’t very wide, so I didn’t have anything to tap the layers down.
Include these directions:
Mix all ingredients (if you can choose a container that has a bit of room at the top, your recipient can just mix it with a spoon to combine- if not, they may have to dump it into a bowl to mix)
Add 1/3 cup cocoa mix to 1 cup boiling water or hot milk.
I usually make my hot chocolate with half water, half milk. If it’s an extra special occasion, I’ll use chocolate milk (highly recommended).
I made some mix for me, but had run out of candy canes so I added a drop or two of peppermint extract, and it was delish!
I love a good hot chocolate, and this is by far better than the instant kind you buy at the grocery store. It’s rich and chocolatey, and I didn’t find it too sweet. A gourmet hot chocolate made by you!
Happy gifting!
Yesterday was my fourth appearance at An Artist’s Affair, and the first time there with Knitley Road. The doors opened an hour earlier and we had a steady stream of people all day. There was live (and amazing!) local musical talent, and even a visit from the Big Guy in Red (a.k.a. Santa).
As I sit here this morning and process yesterday’s events, I’m delighted at the support and excitement there is for local artisans here in London. With over 30 vendors, this was the biggest show- and what a show it was!
I love being able to meet my customers, have a chat and learn who they’re buying for- a gift to give, or a gift to keep.
I noticed people were more engaged: I was asked how I started making cards (a sidebar to scrapbooking); who taught me to knit (Nonna); how did I name Knitley Road (just made it up).
I lost count as to how many people smiled at the big eyes on the owl hats.
People asked me how long it took me to make the knit items, and then thanked me for making art.
I want to thank each and everyone of my customers and those who visited and supported any vendor yesterday at An Artist’s Affair.
Your money is hard-earned, and you made a choice to support small local businesses and help your local economy grow.
For that I say Thank You.
I want to thank the organizers of An Artist’s Affair- Katie and Deanne, and all their supporting staff.
Thank you for giving us a space to share our art, to make people smile and to grow our local economy.
For that, I say Thank You.
Happy Sunday,
Steph
I've been crafting all day and have a few pictures to share with you as I get ready for the last few hours in my crafty marathon. I like to get any last projects finished today so I can prep, price and pack things up tomorrow (say that 3 times fast).
I finished a new chunky cowl on Tuesday and it's now blocked and ready for the finishing touches. I made one of these for myself last year and have gotten many compliments. I don't know it's taken me so long to make one for the shop! This cowl is a grey/soft teal combo and it's delicious!
I also finished up the owl hats, and have a pile of cards that keeps growing.
I'm really looking forward to Saturday, it wont be long now!
Happy Thursday!

We’re getting down to the wire- so here’s a reminder of all the details!

See you soon!
PS- check out that middle picture! *pats self on back*
This will be super quick as I’m working on finishing some more goodies for this weekend (and that’s why I missed yesterday’s post).
I’ve been building up stock of Christmas cards to bring to Saturday’s show; the A Paper Buffet Etsy shop is almost sold out, so I’m trying to make as much as I can in the home stretch.
Here’s a peak at the pile that keeps growing

Gotta get back to work!
Happy Tuesday!
Happy Sunday friends! We’re counting down the days to An Artist’s Affair show on Dec 8th at the Citi Plaza, Artfusion gallery here in London, ON.
Today I wanted to share one of the latest cowls I made for Knitley Road.
This pennant stitch cowl was fun to make and it’s completely reversible!
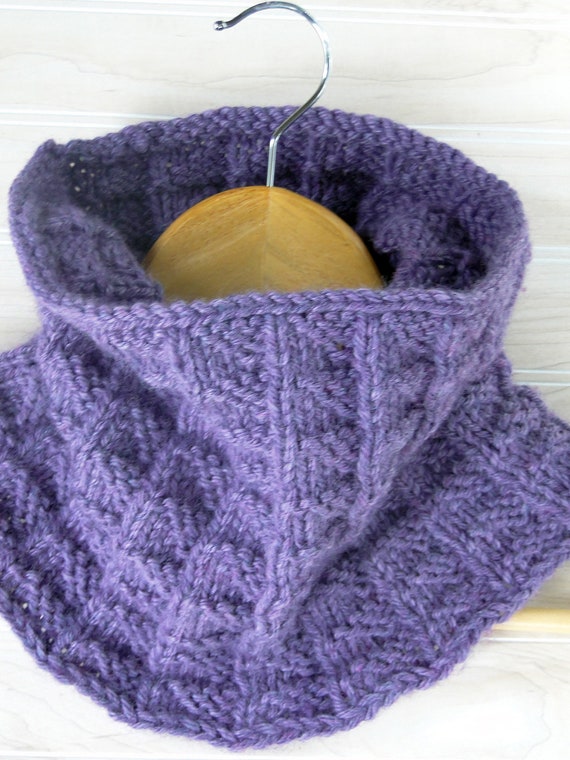
I made this in super soft acrylic yarn, it’s called Lilac, and it’s a bit heathered with a few different shades of purple, it’s so lovely!
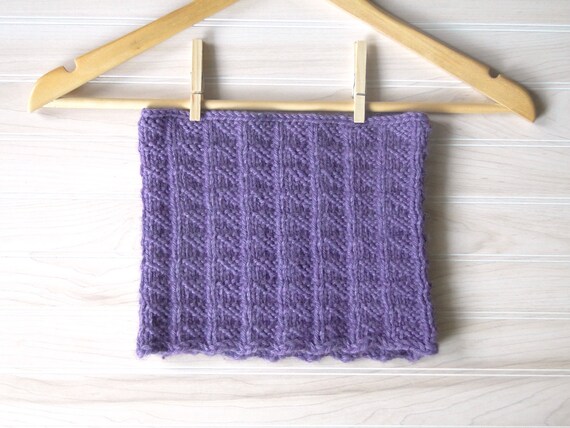
Cowls are great to just pop on and go- my favourite feature is that they don’t get stuck in my jacket zipper.
You can click on the picture to be brought to the listing- remember both shops will be closed on Saturday for the show; as most items are one of a kind- shop early!
Happy Sunday,
Happy Saturday friends! In just one week, on December 8th, 2012, A Paper Buffet and Knitley Road will be participating in this years An Artist’s Affair at the London Citi Plaza.
An Artist’s Affair is a wonderful art show, featuring local artisans. It’s a chance to meet new people, support small businesses and pick up some great holiday gifts! Admission is a canned food item; it’s a great way to give back to your community this holiday season and help out those in need.
This will be the first time I’ll have Knitley Road items at the show and I’m really looking forward to it!
Each day until the event, I’ll be showcasing the cards and knit items I’ll be bringing with me.
To start off with, I’m featuring my Christmas gift tags, available in Holly; Snowflakes or Reindeer
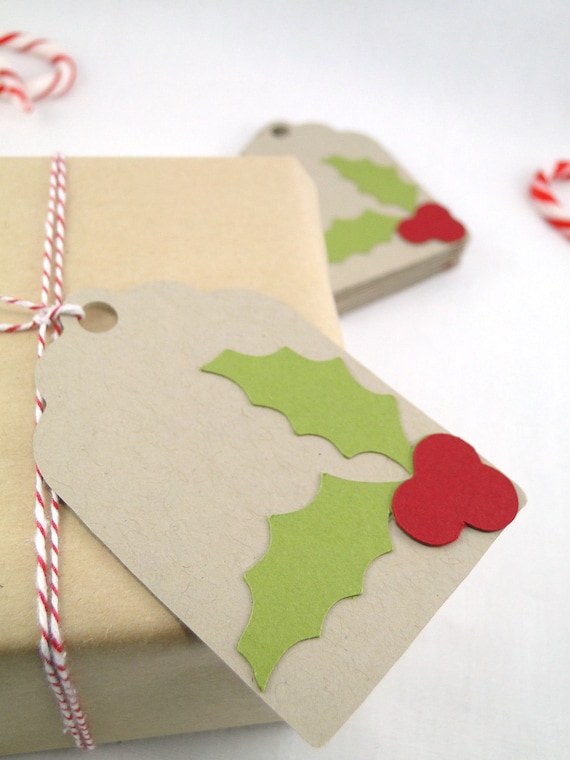
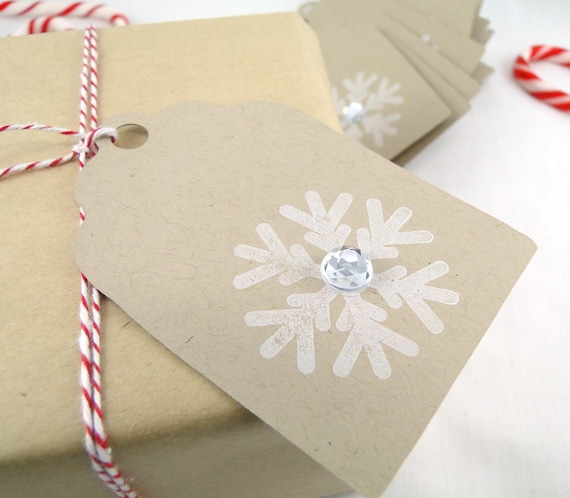
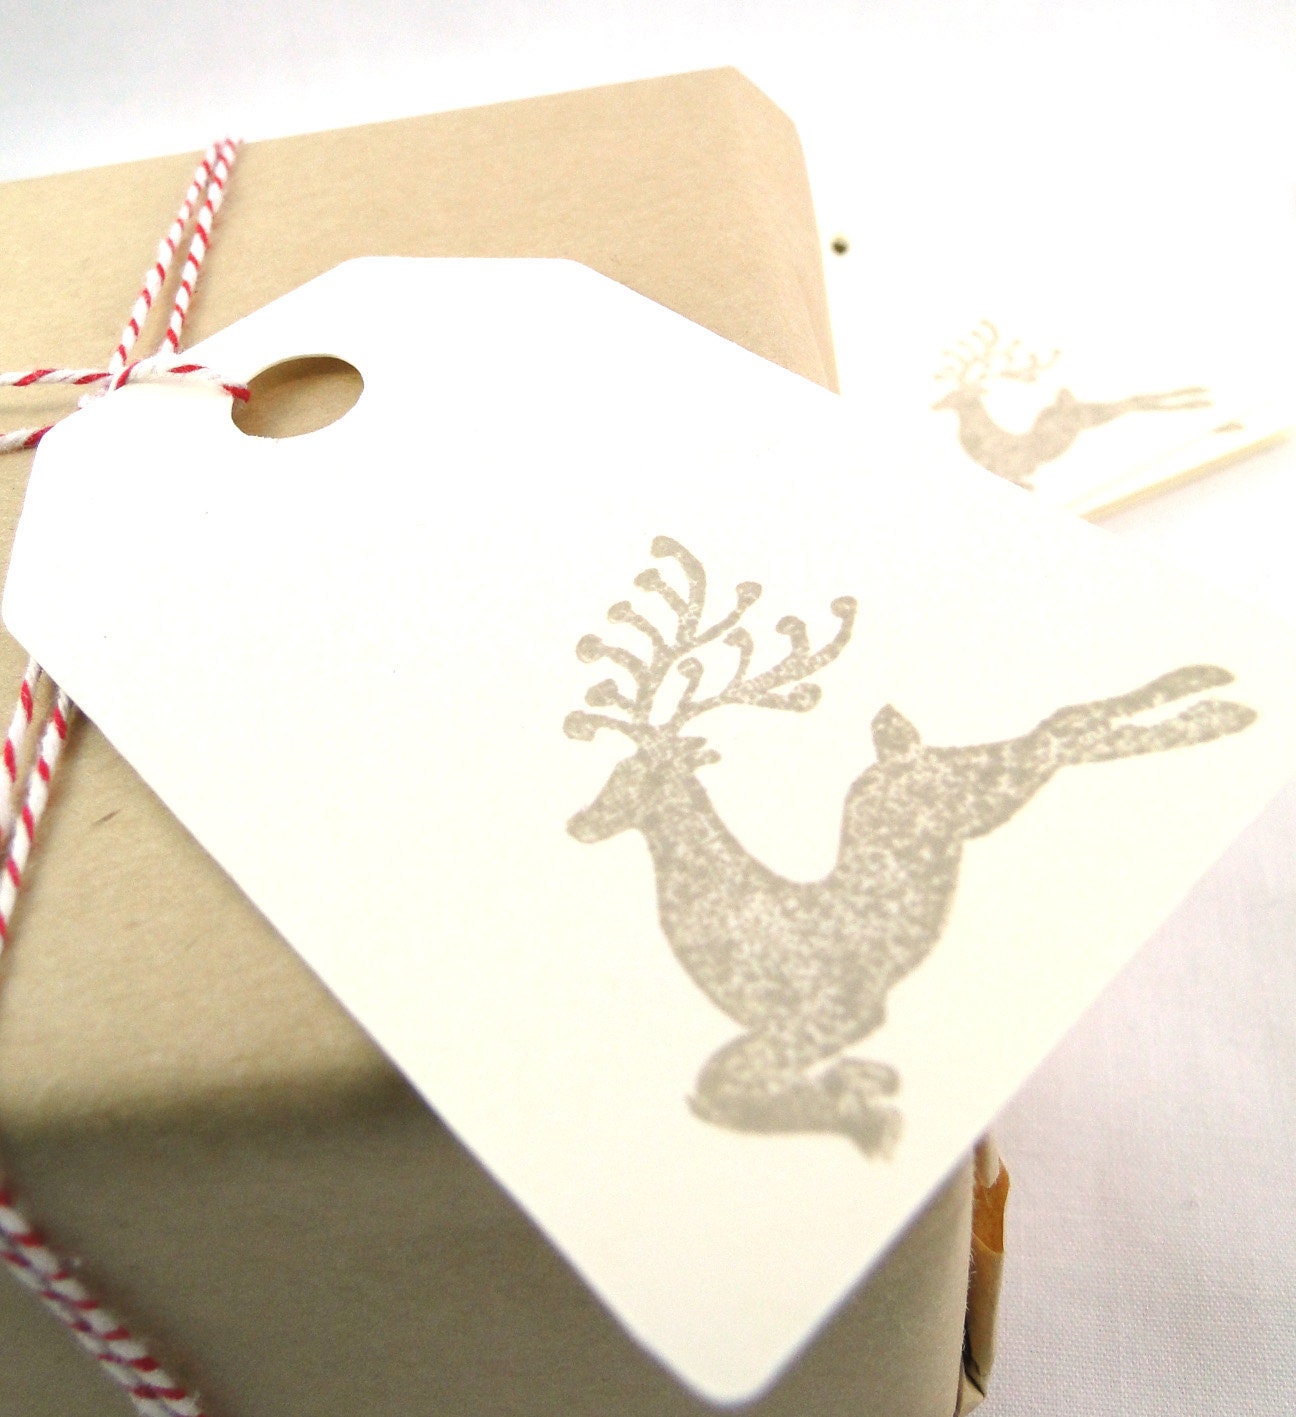
You can click the pictures to be brought to the A Paper Buffet etsy shop, where the tags are available for purchase. The store will be closed for the Saturday while I’m at the show, so this is a great chance to pick up anything that you’ve had your eye on. Shipping deadlines for the US and Canada are fast approaching!
Happy Saturday!


Like it or not, Christmas is not that far away! I can’t believe how fast time flies and that the holidays are just around the corner. I’m in full prep mode as I gear up for the busiest season for A Paper Buffet. This year will also mark the first holiday season for my new shop Knitley Road. I know blog posts have been scarce to say the least, but I’m hopeful I’ll be able to keep up and share all the new items in both shops over the next few weeks.
To kick off the holiday season, I’m sharing a project I’m so happy to present. I’ve had this concept in my mind for months and have finally put it all together and available at Knitley Road.

I’ve knit up some Christmas ornaments in four different colours and embroidered snowflakes in contrasting thread on each of them.
Green and Ivory


These ornaments would be great at the bottom of the tree as they don’t break or would look great hanging from a fireplace mantle- so cozy!
I haven’t decided which one is my favourite, but I’m leaning towards the green and ivory one.
Which one is your favourite?


