Dress up your door

Yarn Wreath Tutorial.

Crumb Cake

Who would've thought?

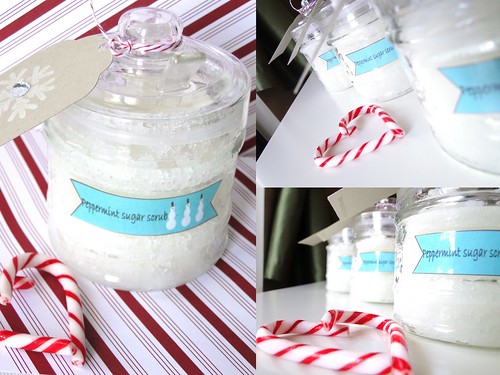
Coconut Sugar Scrub

A simple, yet luxurious gift. Don't forget to make one for yourself!

Wednesday, January 25, 2012

Extra Extra- read all about it! A Paper Buffet at An Artist’s Affair February 4th!

That’s right folks! An Artist’s Affair is planning another spectacular event at the Convergence Centre here in London and I’m happy to announce that  A Paper Buffet will be there!

When: Saturday, February 4th, 212

Hours: 10am-6pm

Where: Convergence Centre at UWO, London, ON


I’ll have Valentine’s cards as well as birthday cards and other paper items.  I would love for you to stop by and say hello! There will be many talented artists there; make a list of upcoming birthdays, get some shopping done (and don’t forget to pick up something nice for yourself!) and support your local London artists!


See you there!


Steph

Tuesday, January 24, 2012

Yarn Wreath tutorial

Hello friends! I’ve been busy stocking up the shop, but thought I’d share with you a project I made before Christmas as a gift.  I know we’re past Christmas, but you could change this up for each season. So without further ado…here’s how to make a yarn wreath!
Supplies: foam wreath; yarn (amount will depend on the size of your wreath); floral picks; floral wire; ribbon and anything else you want to embellish your wreath.
Step 1: wrap the wreath with the yarn.  This part is the longest process; I wrapped two layers so that you couldn’t see the foam through the yarn.  After I finished my wreath, I was blog hopping and saw someone who had used quilting batting over the foam to give the wreath a more rounded appearance, so feel free if you want a “fuller” looking wreath.


Step 2: Take your floral wire and wrap it around the floral picks (these are the decorations you find at the craft store, leaves, mini ornaments, glittery bits, etc) so that you have a way to attach the decorations to the wreath. 


Step 3: Push the wire into the wreath to secure.  Continue adding all of your elements layering if need be.


Step 4: I then wrapped more yarn over top to secure it and cover the wire.  I suppose you could also use a dab of hot glue to secure things, but remember you’d just be securing it to the yarn, so make sure the yarn  is tight around the wreath.


Step 5: I used some felt and cut some flowers with my Nestibilities dies and Cuttlebug. I like how they are layered, but still lay flat.  For the next wreath I make {one for me to keep this time ;)} I think I’ll try making more dimensional felt flowers; here’s a tutorial from Scrapping Tonight


Step 6: Add a ribbon at the top to hang the wreath.  Ta –Da!


Here’s a few detail shots:


I love how this wreath turned out, such a welcoming decoration to hang on your front door and welcome guests to you home.  If you make one, be sure to come back and share pictures- or post them on the A Paper Buffet’s Facebook page .

Happy Tuesday!
Steph

Sunday, January 8, 2012

Cheers to 2012!

Happy New Year!  We’re a week into 2012 and so far it’s very looking promising. I have some great ideas, and hopefully I’ll be share them with you soon.  Did you make any New Year’s Resolutions? {have you broken them already?}.  I only made two this year; one was to complete a Project 365.  I’ve committed to taking a photo every day for a year.  I started a  Project 365 set on my flickr page . I’m trying really hard not to only use my cell phone, but it’s just so much easier to upload it that way. 

My other resolution was to “do what makes me happy”.   Today, what makes me happy is playing with some new stamps and paper and making Valentine’s day cards for the store.

When I saw the Mojo Monday 222 sketch, I knew I had to play along.  Here’s my card following that sketch.

From time to time I make a card that I love so much, I have a hard time putting it in the store.  This is one of those cards.  I love how it came together. 

I love the black, red and ivory combination.


I also love how well it photographed. 


Fear not, I did put this card in the A Paper Buffet Etsy shop (and I have two available).

I’ll be adding some other great Valentine’s day cards to the shop this week using more of this gorgeous paper pack, so stay tuned!

Happy Sunday!


Card details:

Cardstock- SU Basic Black, Riding Hood Red, Very Vanilla

DP- SU Love Letter

Black grosgrain ribbon, heart brad, black rhinestones

Stamp: You and Moi

Twitter Delicious Facebook Digg Stumbleupon Favorites More
This Is A Do-Follow Blog