Dress up your door

Yarn Wreath Tutorial.

Crumb Cake

Who would've thought?

Coconut Sugar Scrub

A simple, yet luxurious gift. Don't forget to make one for yourself!

Monday, December 17, 2012

DIY Peppermint Hot Chocolate pails

Here’s a perfect little gift you can give to those on your list, just be sure to make one for yourself! 


I’d seen recipes for homemade hot chocolate a few times, but hadn’t ever tried them out.  When I  came across this recipe for homemade peppermint hot chocolate, I was sold!

I found the little paint cans at my bulk food store and thought they were the perfect way to see the layers and a fun little present.

The recipe calls for 1 cup of each powdered milk, cocoa and sugar; my little pail wouldn’t fit that so I cut it down to 3/4 cup of each. If you need to adjust the measurements, just be sure to keep the 1:1:1 ratio. I also adjusted the amount of chocolate chips and candy canes from the original recipe to fit in the pail.


My peppermint hot chocolate pails contain:

  • 3/4 cup non-instant skim powdered milk (the original recipe doesn’t specify; I had never used powdered milk before and took a gamble on choosing this one. Also available at my bulk store was non-instant whole powdered milk and instant skim)
  • 3/4 cup 100% pure cocoa powder
  • 3/4 cup sugar (I’m guessing you could use a sugar substitute, but haven’t tried it; this is meant to be a little treat)
  • 1/3 cup of mini semi-sweet chocolate chips
  • 1/3 cup crushed candy canes (I pulsed them in my little food chopper)


Layer them all in your container; the mouth of the little pail isn’t very wide, so I didn’t have anything to tap the layers down. 


Include these directions:

Mix all ingredients (if you can choose a container that has a bit of room at the top, your recipient can just mix it with a spoon to combine- if not, they may have to dump it into a bowl to mix)

Add 1/3 cup cocoa mix to 1 cup boiling water or hot milk.


I usually make my hot chocolate with half water, half milk.  If it’s an extra special occasion, I’ll use chocolate milk (highly recommended).

I made some mix for me, but had run out of candy canes so I added a drop or two of peppermint extract, and it was delish!

I love a good hot chocolate, and this is by far better than the instant kind you buy at the grocery store.  It’s rich and chocolatey, and I didn’t find it too sweet.  A gourmet hot chocolate made by you!


Happy gifting!


Sunday, December 9, 2012

An Artist’s Affair- The Day After: An Open Thank-you Letter

Yesterday was my fourth appearance at An Artist’s Affair, and the first time there with Knitley Road. The doors opened an hour earlier and we had a steady stream of people all day.  There was live (and amazing!) local musical talent, and even a visit from the Big Guy in Red (a.k.a. Santa).

As I sit here this morning and process yesterday’s events, I’m delighted at the support and excitement there is for local artisans here in London.  With over 30 vendors, this was the biggest show- and what a show it was!

I love being able to meet my customers, have a chat and learn who they’re buying for- a gift to give, or a gift to keep. 

I noticed people were more engaged: I was asked how I started making cards (a sidebar to scrapbooking); who taught me to knit (Nonna); how did I name Knitley Road (just made it up).

I lost count as to how many people smiled at the big eyes on the owl hats.

People asked me how long it took me to make the knit items, and then thanked me for making art.


I want to thank each and everyone of my customers and those who visited and supported any vendor yesterday at An Artist’s Affair. 

Your money is hard-earned, and you made a choice to support small local businesses and help your local economy grow.

For that I say Thank You.


I want to thank the organizers of An Artist’s Affair- Katie and Deanne, and all their supporting staff.

Thank you for giving us a space to share our art, to make people smile and to grow our local economy.

For that, I say Thank You.


Happy Sunday,

Steph

Friday, December 7, 2012

Counting down to An Artist's Affair-1 day

Putting the finishing touches for tomorrow!

Hope to see you there!

Thursday, December 6, 2012

Counting down to An Artist's Affair-2 days

I've been crafting all day and have a few pictures to share with you as I get ready for the last few hours in my crafty marathon. I like to get any last projects finished today so I can prep, price and pack things up tomorrow (say that 3 times fast).

I finished a new chunky cowl on Tuesday and it's now blocked and ready for the finishing touches. I made one of these for myself last year and have gotten many compliments. I don't know it's taken me so long to make one for the shop! This cowl is a grey/soft teal combo and it's delicious!

I also finished up the owl hats, and have a pile of cards that keeps growing.

I'm really looking forward to Saturday, it wont be long now!

Happy Thursday!

Wednesday, December 5, 2012

Counting Down to An Artist’s Affair- 3 days

We’re getting down to the wire- so here’s a reminder of all the details!

image


See you soon!


PS- check out that middle picture! *pats self on back*

Tuesday, December 4, 2012

Counting down to An Artist’s Affair- 4 days

This will be super quick as I’m working on finishing some more goodies for this weekend (and that’s why I missed yesterday’s post).

I’ve been building up stock of Christmas cards to bring to Saturday’s show; the  A Paper Buffet  Etsy shop is almost sold out, so I’m trying to make as much as I can in the home stretch.


Here’s a peak at the pile that keeps growing

AAF


Gotta get back to work!

Happy Tuesday!


Sunday, December 2, 2012

Counting down to An Artist’s Affair- 6 days

Happy Sunday friends! We’re counting down the days to An Artist’s Affair show on Dec 8th at the Citi Plaza, Artfusion gallery here in London, ON.

Today I wanted to share one of the latest cowls I made for Knitley Road.

This pennant stitch cowl was fun to make and it’s completely reversible!

I made this in super soft acrylic yarn, it’s called Lilac, and it’s a bit heathered with a few different shades of purple, it’s so lovely!


Cowls are great to just pop on and go- my favourite feature is that they don’t get stuck in my jacket zipper.

You can click on the picture to be brought to the listing- remember both shops will be closed on Saturday for the show; as most items are one of a kind- shop early!


Happy Sunday,

Saturday, December 1, 2012

Counting Down to An Artist’s Affair

Happy Saturday friends! In just one week, on December 8th, 2012, A Paper Buffet and Knitley Road will be participating in this years An Artist’s Affair at the London Citi Plaza.

An Artist’s Affair is a wonderful art show, featuring local artisans.  It’s a chance to meet new people, support small businesses and pick up some great holiday gifts! Admission is a canned food item; it’s a great way to give back to your community this holiday season and help out those in need.

This will be the first time I’ll have Knitley Road items at the show and I’m really looking forward to it!

Each day until the event, I’ll be showcasing the cards and knit items I’ll be bringing with me.

To start off with, I’m featuring my Christmas gift tags, available in Holly; Snowflakes or Reindeer


You can click the pictures to be brought to the A Paper Buffet etsy shop, where the tags are available for purchase. The store will be closed for the Saturday while I’m at the show, so this is a great chance to pick up anything that you’ve had your eye on.  Shipping deadlines for the US and Canada are fast approaching!


Happy Saturday!

Thursday, November 15, 2012

Breaking Dawn Part 2 Hop- The End


Hello friends! This is the last stop on the Breaking Dawn Part 2 Hop; if you’re just starting or if you got lost along the way, here’s the list:
Alison: http://alisonsrandomthoughts.blogspot.com
Laura: http://craftylittlewoman.blogspot.com/
Rebecca: http://bellacarta.typepad.com/
Kelli: http://cajunstampingqueen.blogspot.com
Danielle: http://fundamentalchange.blogspot.com/
Sugar: http://sugscardsnmore.blogspot.com/
Not only is it the last stop in the hop, we’re marking the last movie release of the Twilight movie-series! Can you believe it’s over?! 

What’s been your favourite project so far? They are all so amazing, I got a sneak peak at a few projects last night and I was blown away at the talent these ladies have.
Breaking Dawn was my favourite book of the series, so I’m excited to see how they wrap things up in the movie. I’ve heard there’s somewhat of an ‘alternate’ ending in the movie compared to the book- let’s hope they get it right! 

I don’t have premiere tickets, but my friend D and I are in the midst of planning our night out- we’ve seen all the movies in the theatre together (with the exception of New Moon thanks to an unfortunate minor car accident).   The movies are a total guilty pleasure and we have a great night out by going to the VIP theatre where we are served drinks and dinner in our seats. Admission is limited to those of legal age, so it’s a very different experience than going to the general admission theatre with piles of screaming girls.  

There’s margaritas and giggling ladies instead: —> 


Breaking Dawn marks Bella’s transition to a vampire, and finally being completely part of the Cullen family/coven.  As Christmas is right around the corner, my project marks Bella’s first Christmas as a Cullen vampire- a vampire Christmas ornament!


I embroidered fangs in white thread and added some blood droplets.  Embroidering on a knit circle is a bit tricky; it’s hard to keep the stitches inline since the knitting, even felted, still retains some stitch definition.
The ornament is threaded with red satin ribbon, which matches the blood droplets.  


It`s a bit strange to think this whole Twilight phenomenon is ending… in a very round-about way, it has brought so many wonderful people into my life (you know who you are…TTIC holla!)
Thanks for joining us on the last Twilight movie-release blog hop. I hope you had a great time visiting with each of us.
I raise my movie-margarita glass to you…Cheers!

Wednesday, November 14, 2012

It’s beginning to look a lot like Christmas…


Like it or not, Christmas is not that far away! I can’t believe how fast time flies and that the holidays are just around the corner.  I’m in full prep mode as I gear up for the busiest season for A Paper Buffet. This year will also mark the first holiday season for my new shop Knitley Road. I know blog posts have been scarce to say the least, but I’m hopeful I’ll be able to keep up and share all the new items in both shops over the next few weeks.


To kick off the holiday season, I’m sharing a project I’m so happy to present. I’ve had this concept in my mind for months and have finally put it all together and available at Knitley Road.

ornaments


I’ve knit up some Christmas ornaments in four different colours and embroidered snowflakes in contrasting thread on each of them. green Green and Ivory


grey

Grey and Red


red

Red and White


White and Blue


These ornaments would be great at the bottom of the tree as they don’t break or would look great hanging from a fireplace mantle- so cozy! 


I haven’t decided which one is my favourite, but I’m leaning towards the green and ivory one.


Which one is your favourite?


Thursday, June 14, 2012

Knitley Road: The magic of felting

Technically, it’s called ‘fulling’ but most people know it as felting.  Felting is what happens to pure wool when you add heat, soap and agitation.  The wool starts to contract and the stitches get tighter, and can blend together depending how long you apply the process.

I think felting is a little bit of magic. It can completely transform a knit item.  Take this clutch for instance.  I knit it up in virgin natural wool, on large needles.  I also doubled the wool to get a thicker final product and something that’s quite sturdy.

You can see it’s really large, and the flap sits a few inches below the bottom of the clutch.  While felting is a bit magic and a lot science- it is not exact.  You should always knit up a swatch (even though gauge is not terribly important for felted items) to know how your wool will react.  Since I have felted with this wool before, I knew it would shrink by approximately 55%. 


If you’ve never felted with your particular brand of wool, here’s what I recommend:

-Knit up a small swatch and take your measurements; I usually knit up one that’s 5x5”, I wouldn’t go much smaller than that

-Felt it in hot (Hot! you can even boil a kettle full and add it in) water, with soap and agitation.  You can do this in your washing machine or by hand, but I have a little bucket washer that I use for the clutches.  I throw tennis balls in there for agitation, you can throw in a towel or some people recommend an old pair of jeans (It has been recommended to place your item in a pillow case to save your washer from all the little pieces of wool fibres that will come off the item, and so it doesn’t plug up your machine)

-Check your swatch every few minutes; at first the item stretches and gets bigger. Don’t worry, it’ll shrink down, I promise!

- You can stop the felting process at any time, you may want to keep some stitch definition, or may want it to felt completely.  You can keep going in the machine or do it by hand. 

-Keep track of how long it’s been in the washer/water, so that you can write it down

-Once you get it felted to your liking, rinse in cold water, reshape it into a square and let it dry

-Once dry, you can measure it and see how much your wool shrank

Once you know how your wool will react, you can make your item to size to account for the felting.  Once you start felting your item, each time you check it you can shape it to what you want.

Just in case you’re not prepared…felting wool smells like you’ve got a wet dog in the house.  It’s not that bad, and it makes me laugh every time. 

Here’s the clutch after felting:


I kept a little bit of stitch definition, but not much.   I kept the flap to just below the bottom of the clutch so that when the clutch is full, the flap will be aligned with the bottom quite nicely.  After felting, I play ‘barber’ and use scissors to trim all the loose  fibres to make the item much more appealing.  This can get a bit messy, just fyi.


The clutch above was a custom order, but here are the other felted clutches available at Knitley Road.  You can see the subtle differences in the final results, they were all made using different wool.


Felted clutches


Now the question is…what do I felt next?


If you felt, show me a picture! post it here or on the Knitley Road Facebook page!


Happy Felting!


Tuesday, June 12, 2012

MojoMonday 245: Graduation card


It’s been quite a while since I played along with Mojo Monday, but when I saw the sketch, I knew it was perfect for a graduation card a friend had asked me to make. 


The graduation cap stamp I have is small, so sometimes I can be hard to incorporate a smaller image as the main focal point.  MojoMonday 245 had two small circles that I knew would be perfect!


I grabbed some Bo Bunny Sweet tooth paper; it’s so bright and cheerful and girly- just what my friend wanted.


Card Recipe:

Base- SU Crumb Cake

Matting and Ink- SU Pool Party

DP- Bo Bunny Sweet Tooth

Baker’s twine- SU Pool Party

Ribbon and stamps- from my stash


The card came together quite quickly- don’t you love when that happens?  I think it’s mostly due to the paper, sometimes it all just ‘clicks’.


Happy Tuesday!

Tuesday, June 5, 2012

A Paper Buffet products now available at Let’s Eat Cake!

Just in case you missed it yesterday on the Facebook page, I’m so very excited to announce that a new line of products will be available at Let’s Eat Cake in Woodstock, Ontario!

I love the idea of working with another local business, and pairing our products just made sense! 


Here’s what you can find at Let’s Eat Cake:

Baby Shower invitations (packs of 12 with envelopes)


Birthday party invitations (packs of 12 with envelopes)

These could be used for other parties, they’re so bright and fun!


I also sent an assortment of new birthday cards, using these bright colours, but I forgot to take pictures of them- oops!


Let’s Eat Cake is a new bakery located at 478 Dundas Street in Woodstock Ontario.  Rene is super talented and makes the most gorgeous cakes for all your party needs, and uber yummy treats such as cookies and cupcakes for any ole day of the week ;)


You can join the Let’s Eat Cake Facebook page here.


Happy Tuesday!


Tuesday, May 29, 2012

Something big is happening...

Stay tuned...


Wednesday, May 23, 2012

Knitley Road: Knitted coffee cup cozies

I’ve knit these up in the past and made coffee-themed gift cards for the Latte Love gift sets for A Paper Buffet, and I’ll likely end up selling these in both stores this upcoming Christmas. Coffee cozies are eco-friendly  (no need for a double-cup) and a great way to keep your hands from burning on your hot beverages.

I want Knitley Road items to stand out from other knit items available on Etsy, so I doubled up the yarn and played with colour for these knit coffee cup sleeves/cozies/whatever we call them now.

This super girly bubble-gum pink knit coffee sleeve was knit with two shades of pink. I knit it in the round for a seamless sleeve and choose a ribbed stitch to keep it stretchy so it can accommodate different sized cups. I personally prefer this side of the pattern, which is technically the ‘wrong’ side, but I love all the waves the purl stitch makes. 


Here’s the “right” side:

I weaved the ends in carefully along the bound off edge, so you really can reverse this and use both sides.


The next one might be my favourite, I mixed teal and orange; I’m really loving this colour combo!

I used the same pattern and again I really prefer this side but again, the cozy is reversible.

The cozies are knit with acrylic yarn making them easy to toss in the washing machine- though I’d recommend putting it in a small mesh laundry bag or hand wash them.


These cozies are available here at Knitley Road on Etsy.

Happy Wednesday!

Tuesday, May 22, 2012

Introducing Knitley Road

Hello friends, I’d like to share with you the reason why I’ve been away from blogging for so long…I’ve opened up a new shop for my knitted creations.

Introducing Knitley Road!  I’ve got a small number of items in the shop now and I’m working on creating more.  I’m also trying to find a balance between knitting and playing with paper.  Knitting takes much longer!

My vision for Knitley Road is accessories such as scarves, purses, brooches, mitts and a few other things I have in mindI’m also going to feature some amazing yarn to make my creations; quite a bit of it has been imported from Italy and it’s just amazing!

Each day this week I’ll feature a set of items in the shop and over time, I’ll be sharing my WIP (work-in-progress) here on the blog.  Knitley Road does have it’s own Facebook page, but the blog will be shared between A Paper Buffet and Knitley Road.

First up, are some knit flower brooches.  These are made from 100% Egyptian cotton made in Italy, and is super soft.  I bought a few balls in different colours to try them out, I usually don’t knit with cotton.  But this knits up really well, and I have some ideas for new patterns and projects using this yarn.


Here’s the denim blue flower.  I’ve knit each layer and then chosen a small rhinestone button for the centre

(click the picture to be taken to the link in the shop)


Here’s the grey flower, it’s like a dark slate grey.


Here’s a soft lilac flower, featuring a pearl and rhinestone button in the centre. I think I’m going to take some new pictures of this one, it was hard to photograph that day.


Each of these brooches look really great on a coat, scarf or even your favourite purse.


And all brooches have a locking bar pin on the back that’s been sewn onto a small small felt backing so it’s nice and secure.

Each brooch ships in a small gift box, so it’s perfect for gift giving.


You can shop these knit flower brooches here.


Happy Tuesday!

Tuesday, March 27, 2012

Parliament


Not the political kind. The ‘group of owl’ kind. 

owls3Before Christmas, one of the people I follow on Twitter posted a picture of an owl she had sewn as a Christmas gift.  Immediately I declared myself a seamstress and decided to make a few for my friends’ little ones (which is why I couldn’t share before Christmas. As for why I couldn’t share until the end of March…I have no excuse).

The tutorial is from Hammer and Thread and is very easy to follow.  I used some left over fabric I found from my last “I declare myself a seamstress” adventure and got to work.


I think the eyes are what secure these owls as totally adorable. Wouldn't you agree? I made three owls in total; once you start, it’s really hard to stop!

I have a tiny sewing machine, (that will be upgraded very very soon) that I bought with the intention of sewing on my cards. It doesn't actually sew through paper. It can, however, help out in small projects like this.

The hardest part about making the owl is the tail, but other than that the pattern comes together quite quickly. 
owls7
The owls were a big success, and my Godson has already declared that the purple owl made for his baby sister is now his.  I guess that means once I get the new sewing machine, I’ll be making at least one more owl ;)

Happy Sewing!


Friday, March 16, 2012

Interview with the Western Gazette

Have you wondered how A Paper Buffet came to be?

Check out my interview with the Western Ontario newspaper The Gazette, you’ll find out how my business started, and a few of my thoughts about online business in general.  The article is on page 4.

I’m off to enjoy the lovely sunshine and summer-like weather we’re having here, but I’ve got lots of new things planned, and some exciting announcements too!


Happy Friday!!


Stephanie

Friday, March 2, 2012

Quick and Easy Granola Bites

While I’m lucky enough to work from home, I am out and about in meetings and I usually have a granola bar or sliced apples in my bag for a snack.  Granola bars are not cheap and I realized I was spending between $4 –$5 each week for a box of 6 granola bars.  So when I came upon this recipe for granola bars via Twitter and thought I’d give it a try.

For the first batch, I used the chocolate chips as called for, but couldn’t find peanut butter chips so those were left out.  They were very good, but very sweet, so I cut the bars into small squares and ate them in the evening to curb my sweet tooth.  When it came to making a second batch, it was after Ash Wednesday and since I have given up sugar for Lent, I needed to modify the recipe again.

So here we go; here’s your list of ingredients for the base of the granola bites:

  •  

      Coconut oil 1/3 of a cup  (I still had some left over from my Coconut Sugar scrub)

      Peanut Butter 1/2 cup

      Honey 1/3 cup

      Old fashioned oats  1 1/2 cup  (I found my bites to be a bit sticky, I’ll add another 1/4 cup oats in the next batch)

Since I’m not eating sugar, I had to come up with something else to put in the granola bites.  Most people would automatically think of raisins (but I don’t like them).  I had originally thought of some dried fruit, but I wasn’t happy with the selection at my grocery store.  Truth is, you can add anything you want to these little bites.  I decided to go with chopped dates and slivered almonds.  I added 1/2 cup of almonds and 1/3 cup of chopped dates.


So here’s what you do, it’s super quick easy!


Melt your coconut oil, peanut butter and honey in a small pot over medium heat.  Once they’re all melted, add in your oats, and your fruit. 

***If you are using chocolate, your chocolate is going to melt if you add it now.  If you want the chips to keep their shape, don’t add them yet.  Once your oat/honey/oil/pb mixture is combined, you’ll have to let it cool for about 10 minutes, then add your chocolate chips.


I lined a small casserole dish with parchment paper and poured it in. 

If you’re making bars, you would want to use a larger dish; the bites can be fat and square.

Put it into the fridge to set- mine set in about 30 minutes.


Once set, I just pulled the parchment paper out of my dish and set on my cutting board to cut the bites.


These guys are pretty delicious!  Just two little bites are a great snack for me in between meals, which means they are much more cost effective than buying the bars.  I also know exactly what went into these bites which is also a bonus. I got about 16 good size squares from this recipe.  I keep them in a sealed container in the fridge, but they’d also be fine at room temperature.


Now, before I get a whack of comments, yes, I’m aware that peanut butter does have sugar in it.  I had just bought a brand new jar prior to giving up sugar and I just couldn’t justify buying natural peanut butter which is double the price.  On my peanut butter, sugar is the 6th ingredient out of 8, so while it’s in there, it could be worse.


You can do so much with this base- swap out the peanut butter for almond butter, add cranberries and walnuts, or if you like them, raisins.

What will you add to your granola bites?

Buon Appetite!

S

Wednesday, February 22, 2012

40 days without sugar begins now.

365:48 I’m giving up sugar for Lent

There. I said it.

It’s public and out for all of the internets to see.
I’m accountable now.

I was browsing the Etsy forums and someone mentioned they were giving up browsing the forums for Lent. The poster commented that she will be more focused on working on her shop, be more productive, and hopefully more successful.  I started thinking about what I should give for Lent.

I have lapsed in the past few years and haven’t given anything up in a while. When we were kids, it was most often chocolate, or potato chips. One year it was gum.
 
I remember the year I tried to give up liver.


Ma said that wasn’t the point and I had to pick something I actually liked.
I also remember the year I gave up coffee…let’s not go there.

I decided when I was eating the mini-baking chocolate peanut butter cups that I needed to give up sugar.
I crave something sweet after dinner, almost every night. I don’t know where this came from, because we were never a dessert-every-night-after-dinner family.

I know exactly where it came from.
Me.


Here are my rules for the next 40 days:

  • No refined sugar; white, brown, raw or otherwise
  • No chocolate, cookies, pie or candy
  • No ice cream (sorry D)
  • No pop (not even diet)

Honey and Agave syrup are acceptable as is Splenda in my coffee
Naturally occurring sugar i.e. fruits are acceptable

I’m doing this for me. To bring back my focus, take control of my health and show my strength. 
Lent is about many things, and I don’t necessarily believe it has to be entirely religious.  I can choose to give up something at any time, for any duration. 
I’m choosing to start today because I want to.  I have a start date, and an end date- Easter Sunday.

I also am curious to see what other benefits I will get out of this.  I expect to have more energy, be clear headed and hopefully lose a few un-healthy pounds.

I just looked at my list of rules and realized that I should clarify: I don’t have a completely unhealthy diet.  I don’t eat pie or ice cream on a daily basis (but I’d love to).  But the chocolate chips in the granola bars, a cookie here and there…it’s adding up.

So here we go.
40 days without sugar begins now.


Technorati Tags: ,,

Monday, February 20, 2012

Confession: I’m not on Pinterest

Recently, my friend asked me “Are you on Pinterest yet?”.

“No. Pinterest is the devil”. 

It’s not really. 

Or is it? (disclaimer- I have nothing against the creators, or users of Pinterest nor do I really think they are the devil or any hellish beast)

I’ve heard from countless people “ I signed up for Pinterest; I was on there for hours!”.

Reason number 1 why I’m not on Pinterest:

     I already spend too much time online. I run an online business and am in the process of launching a second online business (surprise! but more on that later). With email, Facebook, Twitter, Etsy, Flickr and this blog, I have enough to do. 
I share interesting links to articles or photos on Facebook or Twitter.

I’m always plugged in.

(PS- having your pins linked to your Twitter feed when you go on a pinning spree 5 x a day is the fastest way to get me to unfollow you)

Reason number 2 why I’m not on Pinterest:

     I have enough trouble keeping up with what I have online already.  Take a look at the dates of the posts on this blog… I need to make my blogging more consistent, not less. 

Reason number 3 why I’m not on Pinterest:

     I have enough on my project-to-do list. 

The top argument I hear for joining Pinterest is “it’s so inspirational”!  

I’m not lacking inspiration.  And when I do get stuck and need some crafty  mojo, I have a Google reader full of blogs, pages of bookmarks I can review, my whiteboard and my notebook full of projects I can/want/am waiting to start.


Reason number 4 whey I’m not on Pinterest:

But Stephanie, you have an online business! You need to be on Pinterest, so people go to your shop and buy your things”!

     Really? 

See number 3- if most people are using Pinterest as a to-do list for their own DIY projects…they aren’t my target market. 

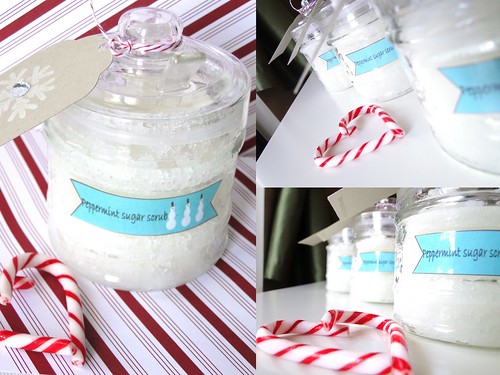
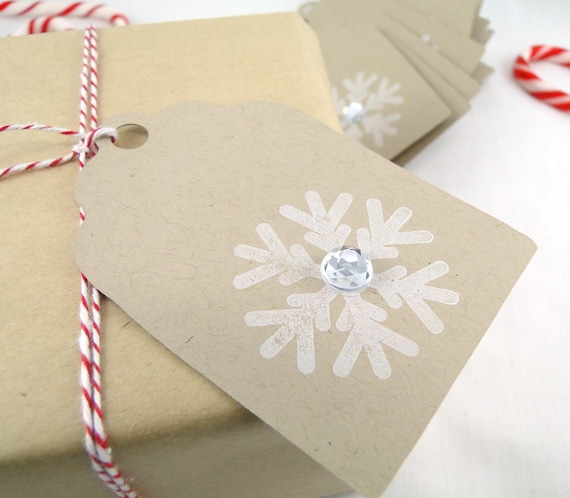
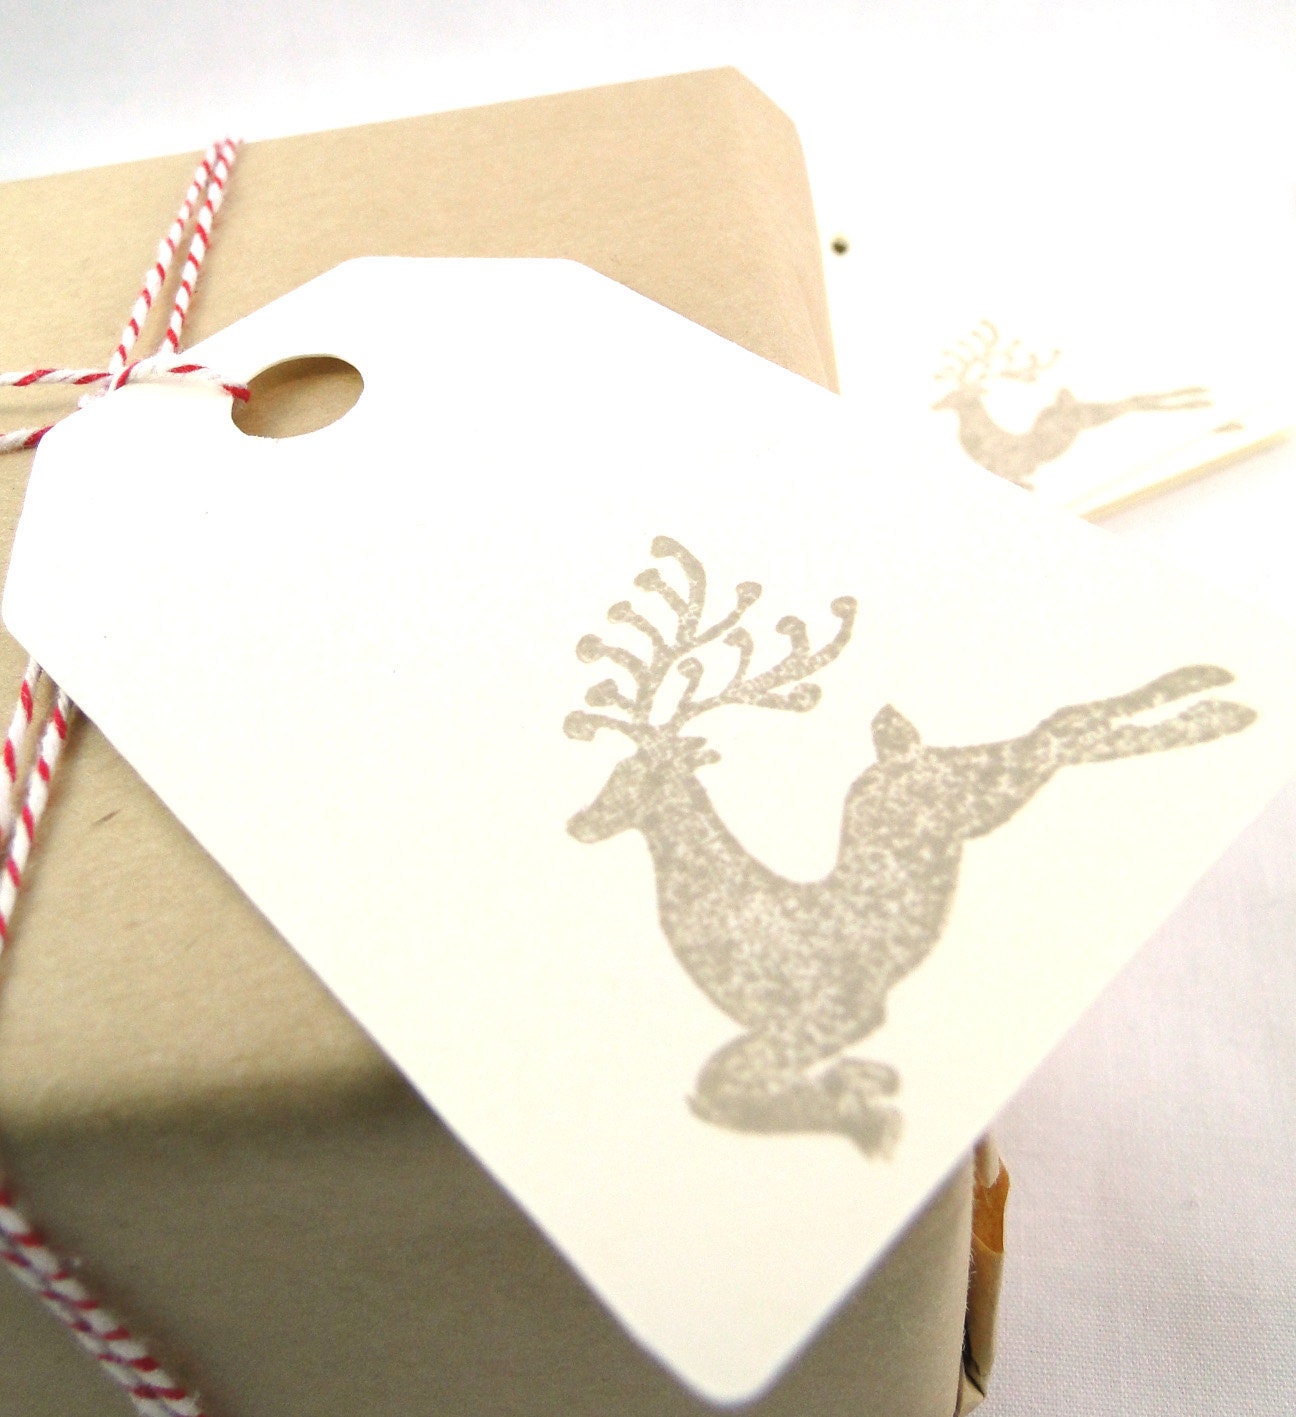
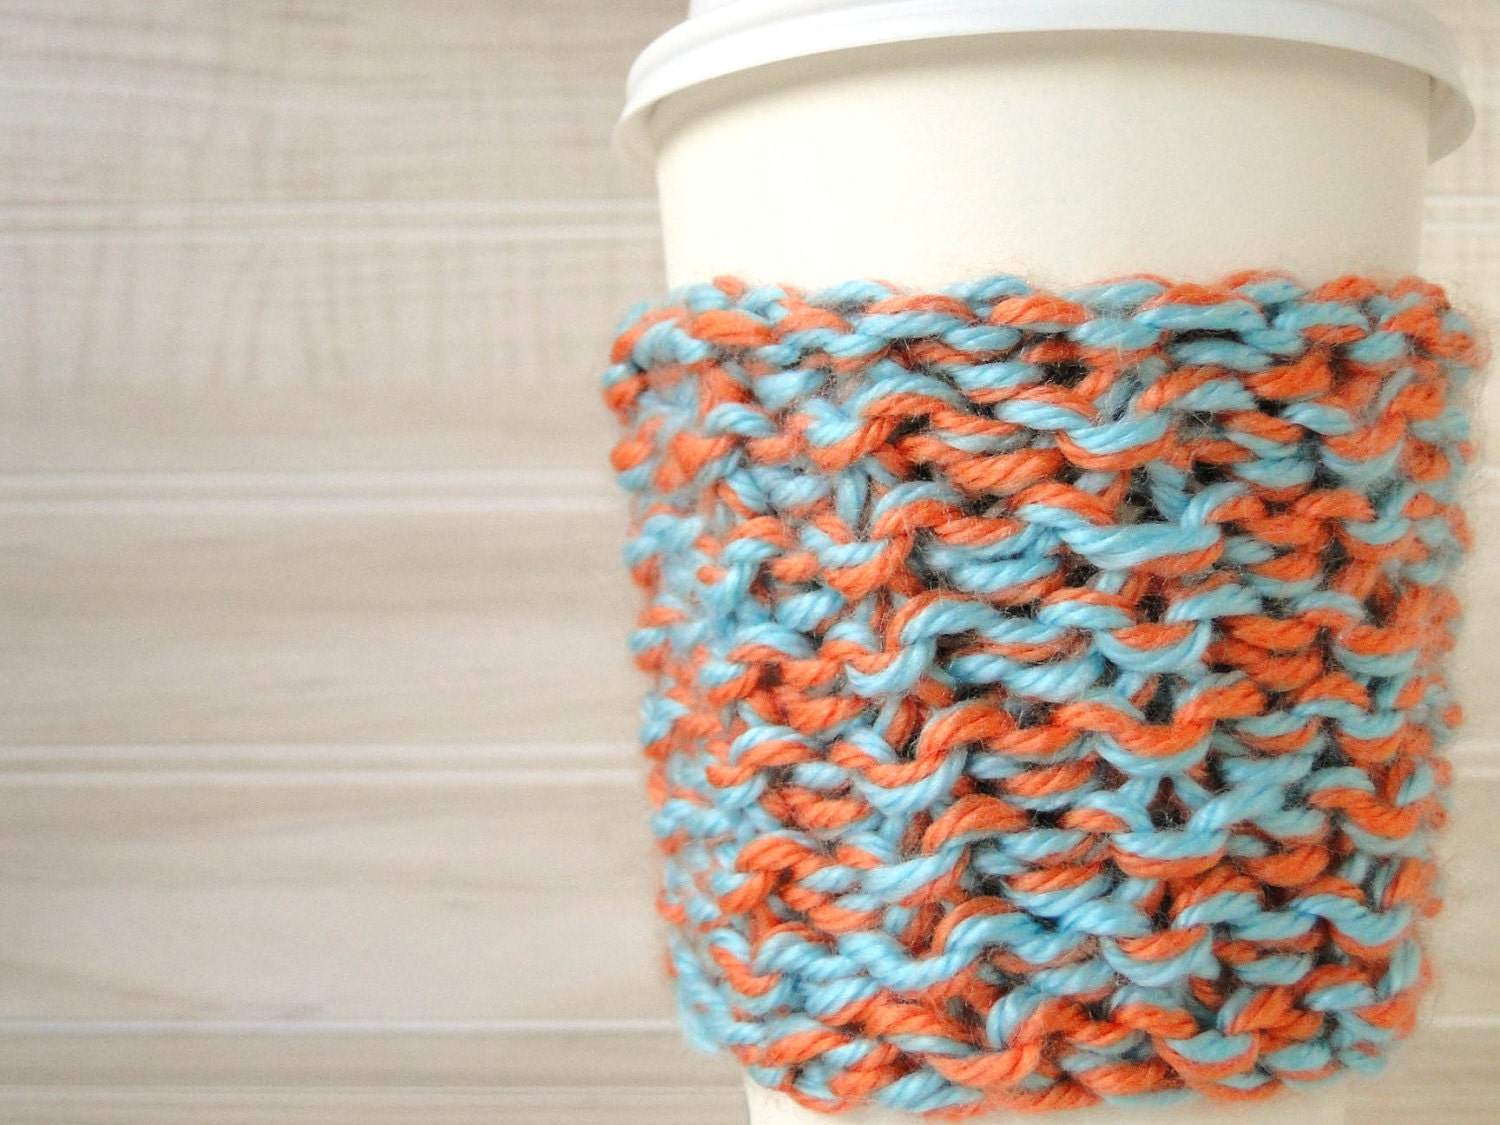
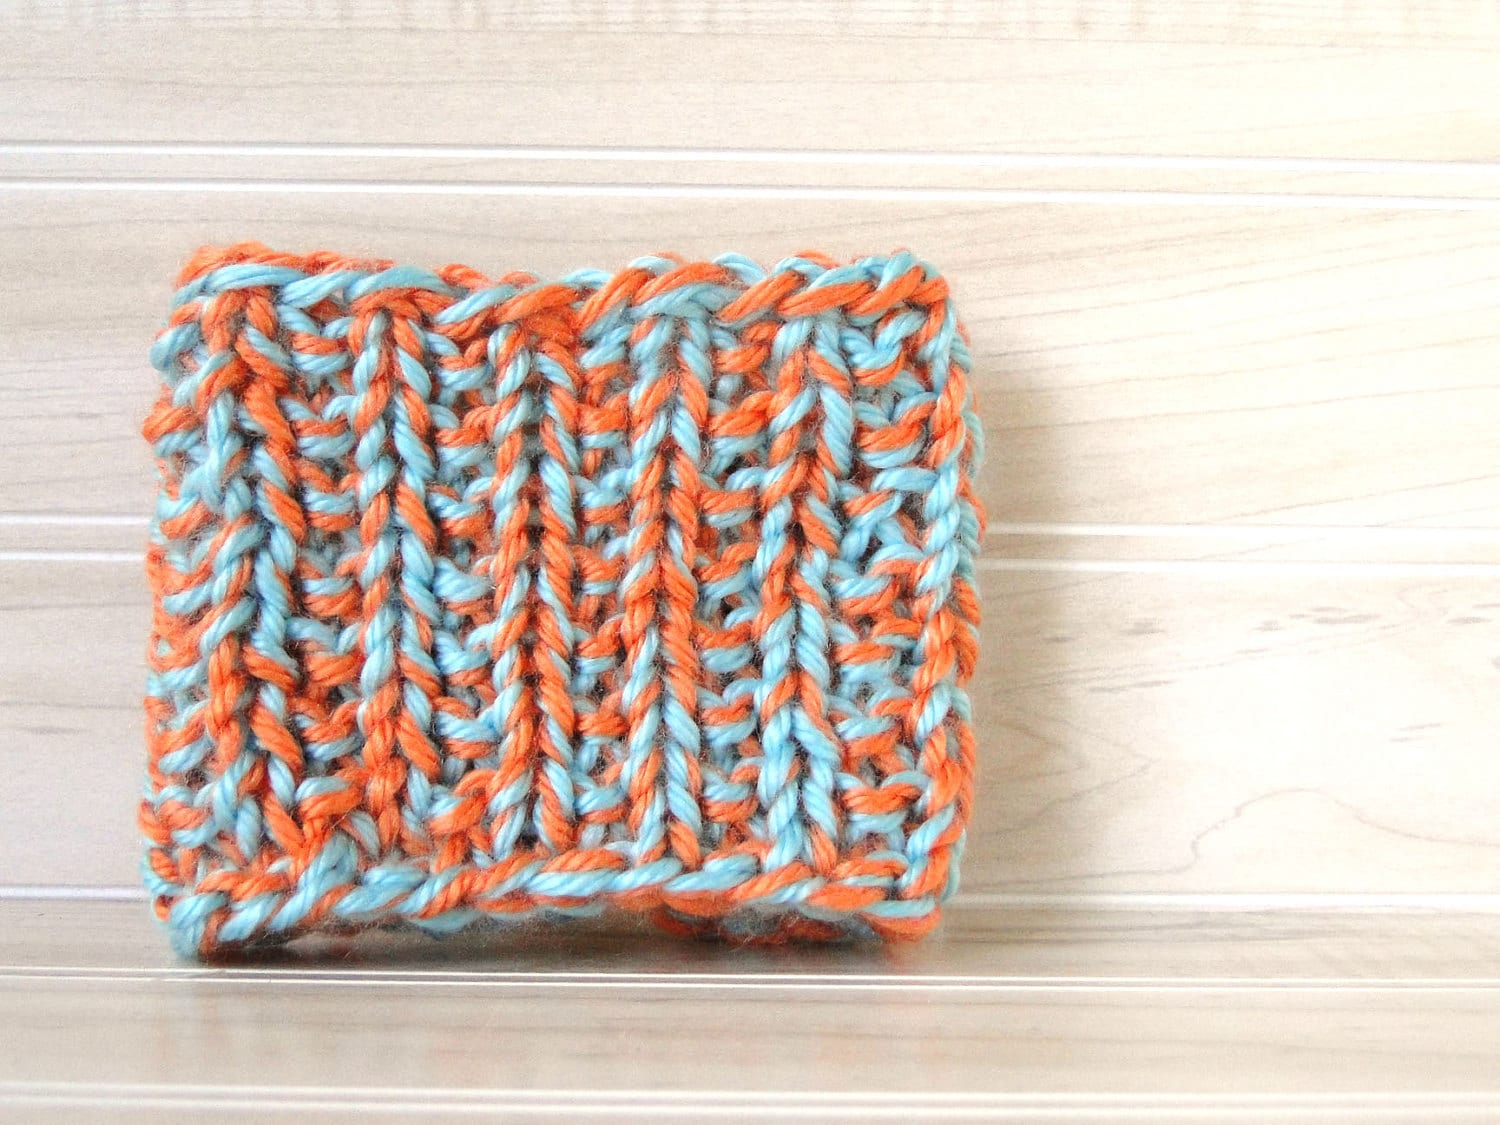
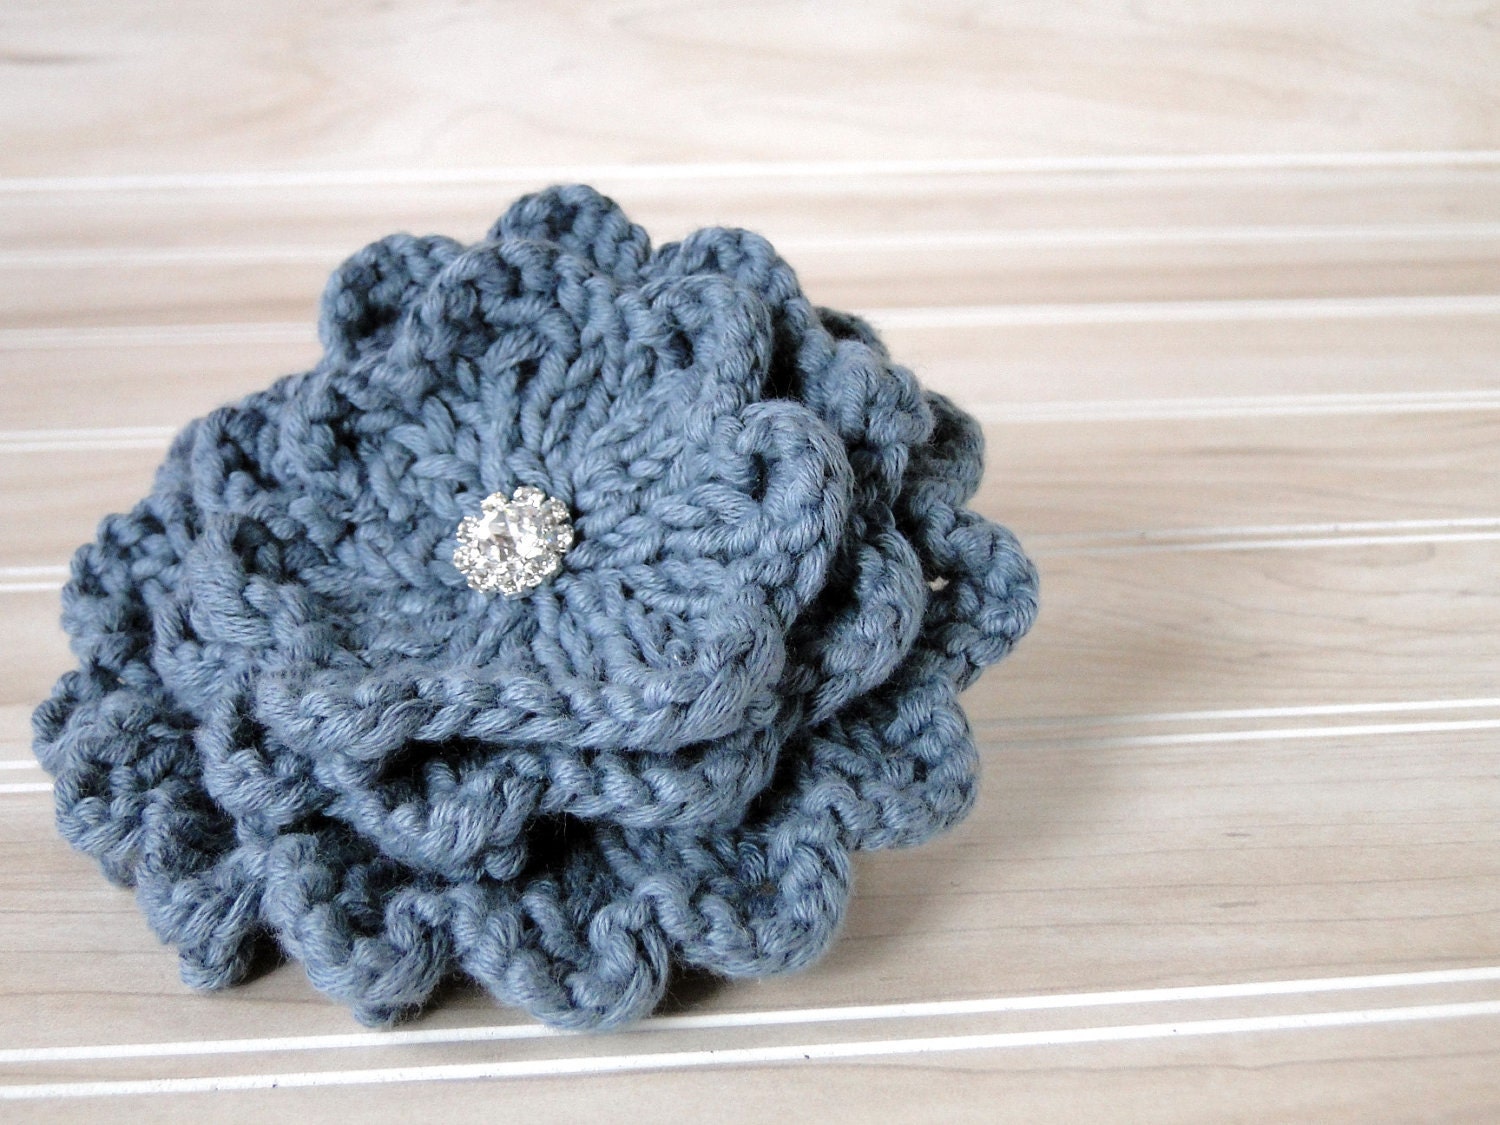
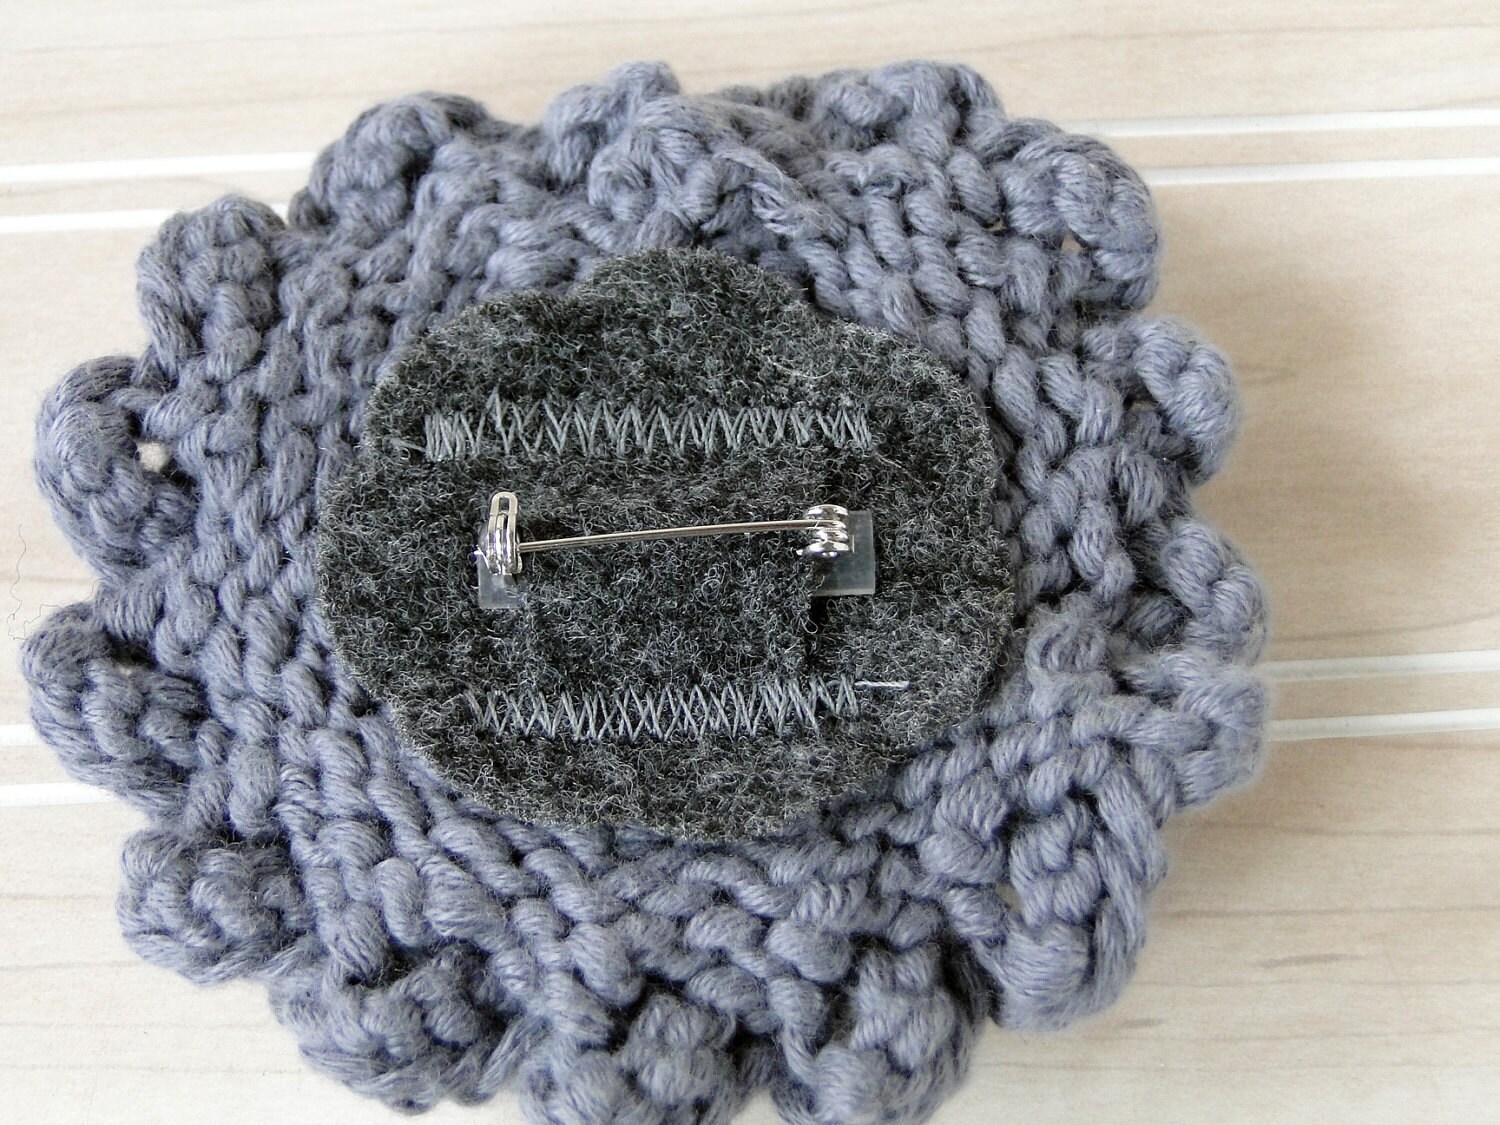
Etsy recently added a “pin it” button in each listing, and beside the “tweet” and “share” buttons.  If someone wants to pin photos of my cards, they can.  People are free to pin my items if they so choose.

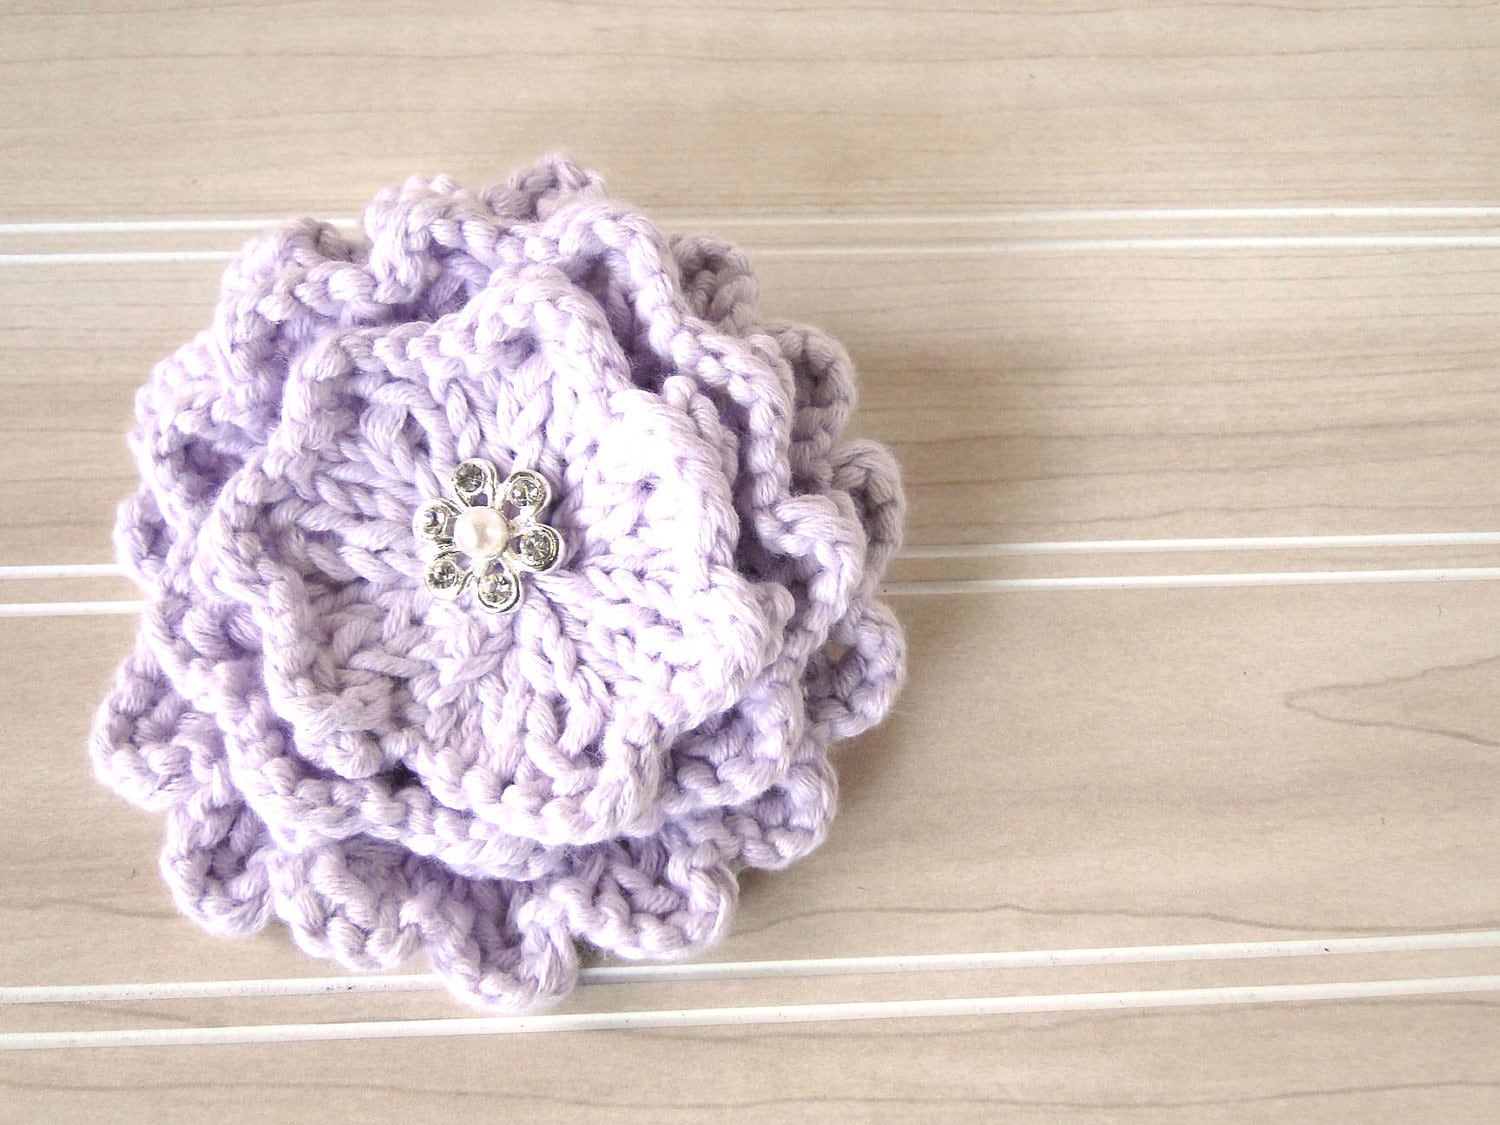
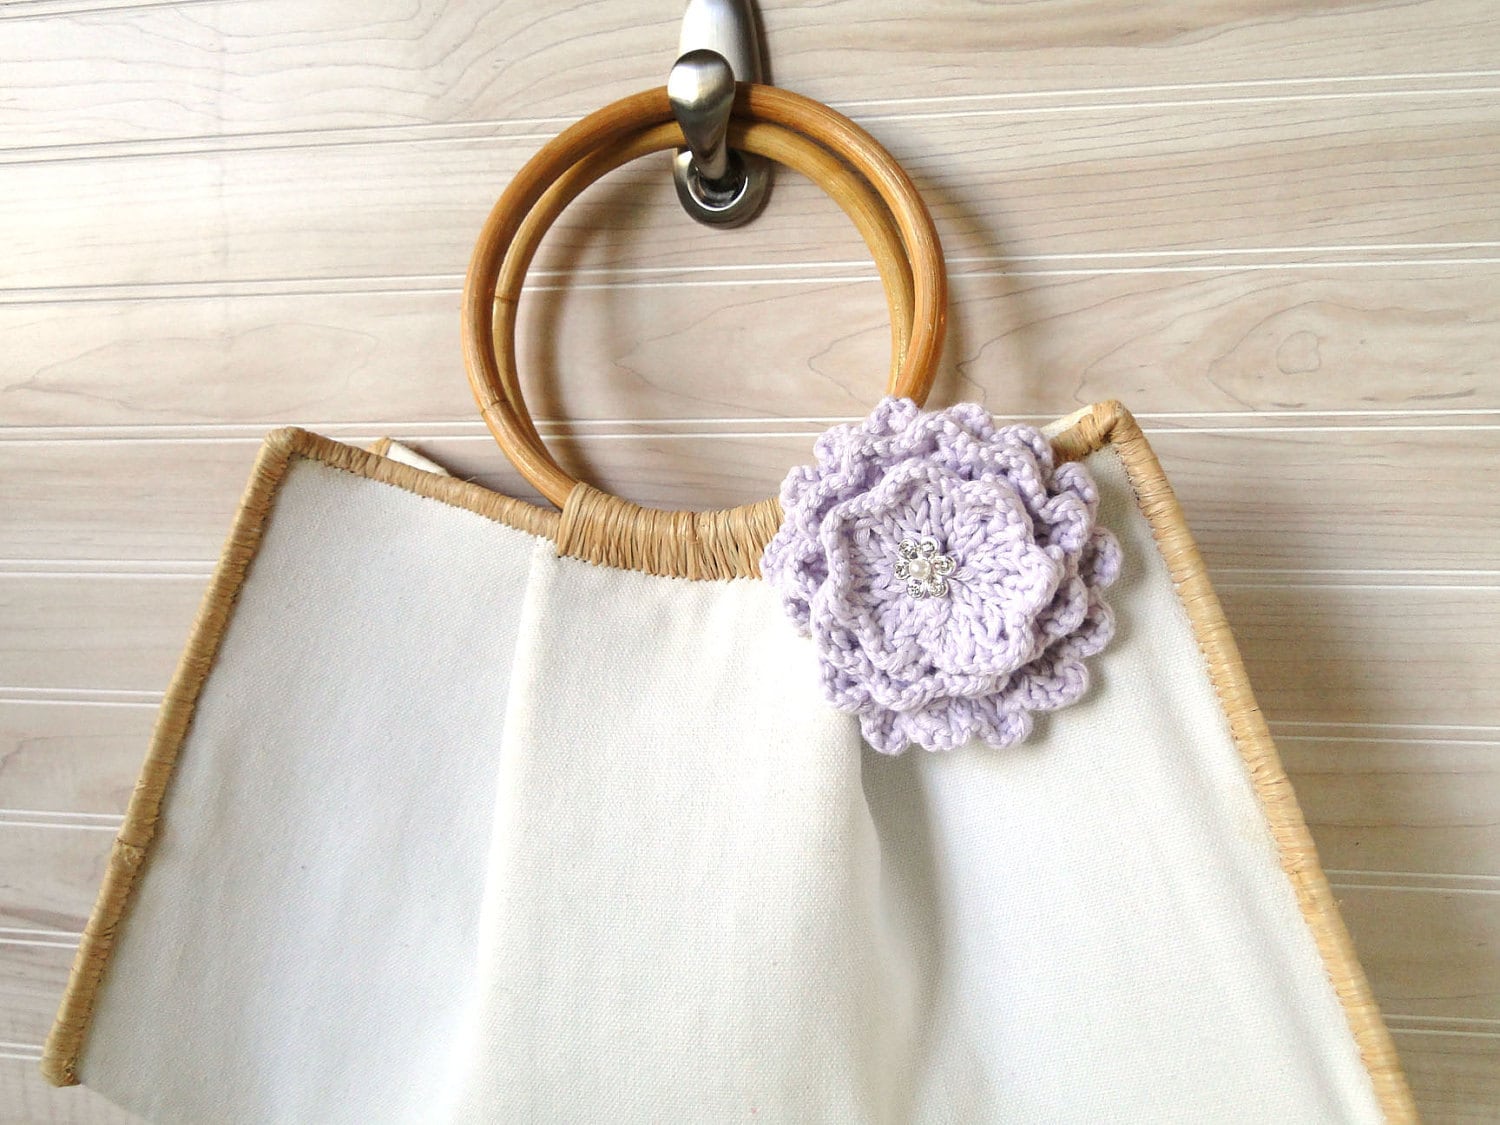
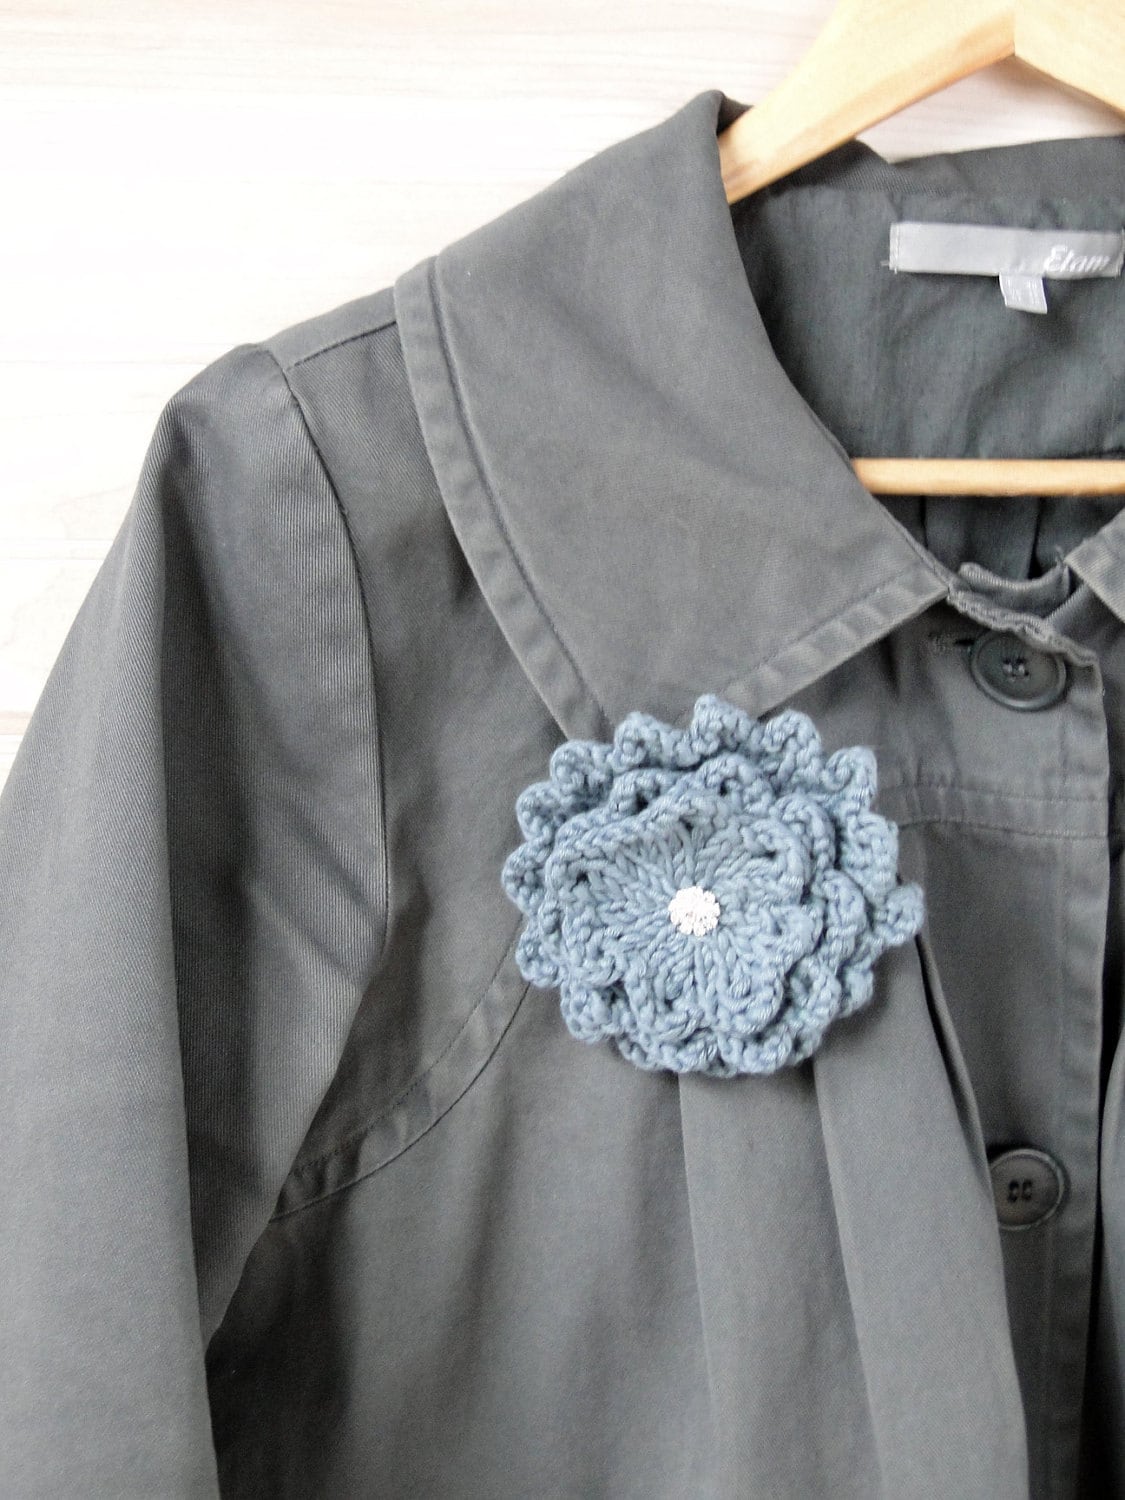
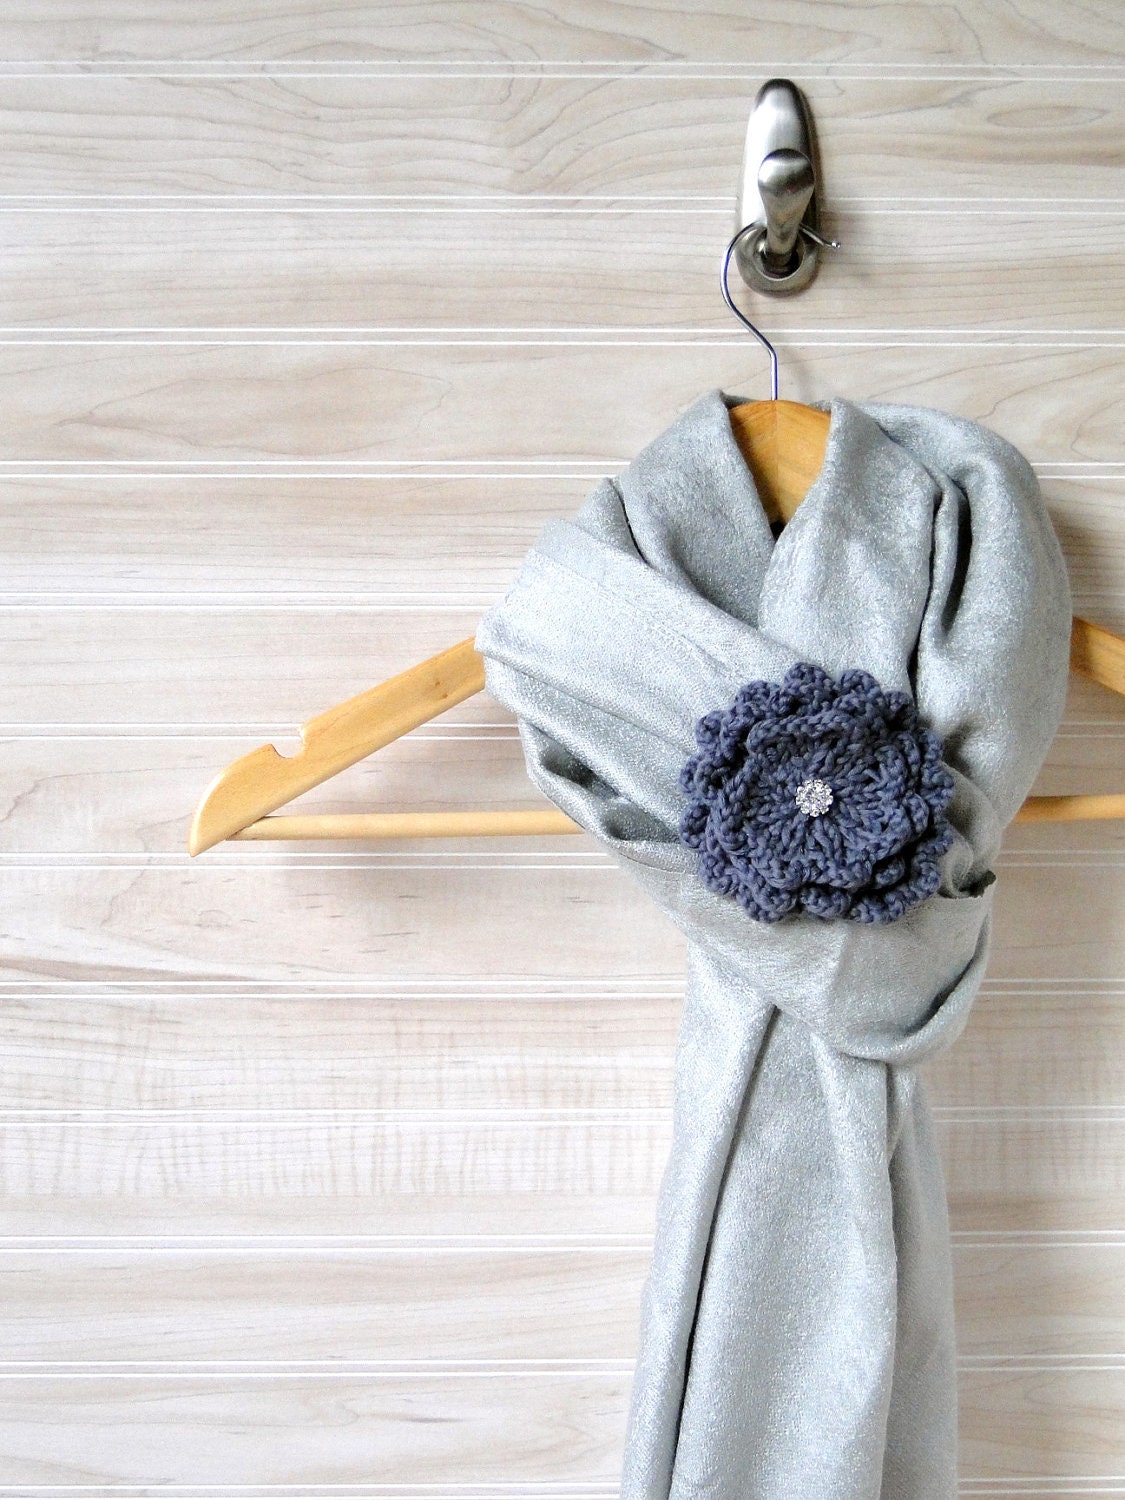
It also seems to be a faux-pas to pin your own items for your own promotion.  Whether that’s an actual Term of Use, or just frowned upon I don’t know.  But I fail to see how being on Pinterest would equate to more sales for my shop.  I’d personally prefer to be in more treasuries on Etsy, which I would consider to be the first pinterest-type arrangement.  People looking at treasuries are more likely to be buyers.


There has been some talk in the Etsy forums, that as other users “pin” your photos, and not all owners provide consent to the “pin-er”, the owner loses copyright protection.  I don’t really know about that, nor am I worried about it. I gave up my online privacy that day in grade six I signed up for an email account.  If you put anything on the internet you have to be aware someone, somewhere will probably use it, find it, or claim it as their own.  My photos on Flickr are more important to me than my images of my greeting cards.  Although Flickr has licensing and other stops in place that I can use to protect my images. And  my favourite images, the ones I really want to protect, are not online at all.

I think the idea of Pinterest is great; I can see how it could be useful to organize ideas,  be fun and inspiring. 


But I don’t need it.
I don’t want it.
And frankly, I’m over it.

Will I ever join Pinterest?
I’ve learned it can be foolish to never say never.

The way I see it is until Pinterest starts offering units of time to complete my ideas/projects, I won’t be signing up requesting an invite (and what is up with that?) any time soon.

Because time is what I really need.

S

ETA- Pinterest is a hot topic right now.  After I wrote this post (last night) there were no less than 4 threads on Pinterest in the Etsy business forums.  Most of the discussions were regarding legal rights to images that may be sold by Pinterest to affiliated websites (Amazon, Target, etc)- 'images', not "items".  Lore has it that Pinterest keeps the full file when an image is 'uploaded' (vs. being pinned).
The TOU's posted from Pinterest indicate you are to only upload an image that you own the copyright to, or have permission to upload.


There's also concern that Etsy didn't ask the member's permission to put the "pin" button in all of our shops.  


I haven't read the Pinterest TOUs in their entirety, but this seems to be a slippery slope.  I can see how a photographer could be caught in this loophole.  I hope that Pinterest addresses these issues.

Wednesday, February 15, 2012

Hello!

How are you? It’s been a little while, I know.  Things have been quite busy here.  I had a great weekend at the Artist’s Affair Valentine Show and I’ve been working hard to restock the A Paper Buffet Etsy shop .  I have some great new ideas for 2012, but I don’t seem to have enough time to implement them all.  Don’t you hate when that happens? I’m trying to write them all down so that I can work through them one by one.  While holiday cards (Christmas, Valentine’s, etc) are very busy times for me, I also want to create some cards to keep on hand, that you can use for any reason…or for no reason at all!

I made a few of these cards for the Artist’s Affair show and got some really great feedback (and sold out!)  I’ve expanded the line and added a new option in the shop.  I’m going to call this the “hello” line, for lack of a better title.

Each card is made with a kraft base, with a stamped animal inked in a colour to match the card stock matting.  I love the white space on the card- which is usually a bad thing!

Lion


Owl


Fox


Turtle


Whale


I can’t decide which is my favourite, so I’ve decided you shouldn’t have to either.  I’ve offered a “choose 3” option in the shop (along with a slight discount for buying the set) so you’ll never be caught without a card!


So, tell me if you had to choose, which one is your favourite?


Twitter Delicious Facebook Digg Stumbleupon Favorites More
This Is A Do-Follow Blog