Dress up your door

Yarn Wreath Tutorial.

Crumb Cake

Who would've thought?

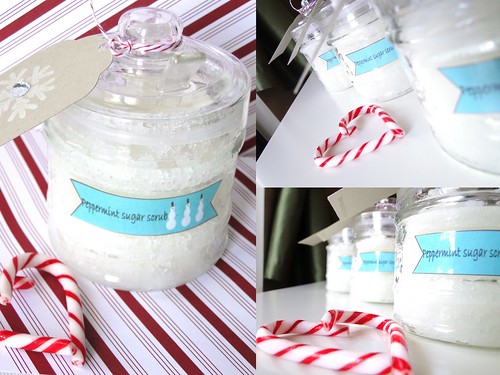
Coconut Sugar Scrub

A simple, yet luxurious gift. Don't forget to make one for yourself!

Thursday, November 15, 2012

Breaking Dawn Part 2 Hop- The End


Hello friends! This is the last stop on the Breaking Dawn Part 2 Hop; if you’re just starting or if you got lost along the way, here’s the list:
Alison: http://alisonsrandomthoughts.blogspot.com
Laura: http://craftylittlewoman.blogspot.com/
Rebecca: http://bellacarta.typepad.com/
Kelli: http://cajunstampingqueen.blogspot.com
Danielle: http://fundamentalchange.blogspot.com/
Sugar: http://sugscardsnmore.blogspot.com/
Not only is it the last stop in the hop, we’re marking the last movie release of the Twilight movie-series! Can you believe it’s over?! 

What’s been your favourite project so far? They are all so amazing, I got a sneak peak at a few projects last night and I was blown away at the talent these ladies have.
Breaking Dawn was my favourite book of the series, so I’m excited to see how they wrap things up in the movie. I’ve heard there’s somewhat of an ‘alternate’ ending in the movie compared to the book- let’s hope they get it right! 

I don’t have premiere tickets, but my friend D and I are in the midst of planning our night out- we’ve seen all the movies in the theatre together (with the exception of New Moon thanks to an unfortunate minor car accident).   The movies are a total guilty pleasure and we have a great night out by going to the VIP theatre where we are served drinks and dinner in our seats. Admission is limited to those of legal age, so it’s a very different experience than going to the general admission theatre with piles of screaming girls.  

There’s margaritas and giggling ladies instead: —> 


Breaking Dawn marks Bella’s transition to a vampire, and finally being completely part of the Cullen family/coven.  As Christmas is right around the corner, my project marks Bella’s first Christmas as a Cullen vampire- a vampire Christmas ornament!


I embroidered fangs in white thread and added some blood droplets.  Embroidering on a knit circle is a bit tricky; it’s hard to keep the stitches inline since the knitting, even felted, still retains some stitch definition.
The ornament is threaded with red satin ribbon, which matches the blood droplets.  


It`s a bit strange to think this whole Twilight phenomenon is ending… in a very round-about way, it has brought so many wonderful people into my life (you know who you are…TTIC holla!)
Thanks for joining us on the last Twilight movie-release blog hop. I hope you had a great time visiting with each of us.
I raise my movie-margarita glass to you…Cheers!

Wednesday, November 14, 2012

It’s beginning to look a lot like Christmas…


Like it or not, Christmas is not that far away! I can’t believe how fast time flies and that the holidays are just around the corner.  I’m in full prep mode as I gear up for the busiest season for A Paper Buffet. This year will also mark the first holiday season for my new shop Knitley Road. I know blog posts have been scarce to say the least, but I’m hopeful I’ll be able to keep up and share all the new items in both shops over the next few weeks.


To kick off the holiday season, I’m sharing a project I’m so happy to present. I’ve had this concept in my mind for months and have finally put it all together and available at Knitley Road.

ornaments


I’ve knit up some Christmas ornaments in four different colours and embroidered snowflakes in contrasting thread on each of them. green Green and Ivory


grey

Grey and Red


red

Red and White


White and Blue


These ornaments would be great at the bottom of the tree as they don’t break or would look great hanging from a fireplace mantle- so cozy! 


I haven’t decided which one is my favourite, but I’m leaning towards the green and ivory one.


Which one is your favourite?


Thursday, June 14, 2012

Knitley Road: The magic of felting

Technically, it’s called ‘fulling’ but most people know it as felting.  Felting is what happens to pure wool when you add heat, soap and agitation.  The wool starts to contract and the stitches get tighter, and can blend together depending how long you apply the process.

I think felting is a little bit of magic. It can completely transform a knit item.  Take this clutch for instance.  I knit it up in virgin natural wool, on large needles.  I also doubled the wool to get a thicker final product and something that’s quite sturdy.

You can see it’s really large, and the flap sits a few inches below the bottom of the clutch.  While felting is a bit magic and a lot science- it is not exact.  You should always knit up a swatch (even though gauge is not terribly important for felted items) to know how your wool will react.  Since I have felted with this wool before, I knew it would shrink by approximately 55%. 


If you’ve never felted with your particular brand of wool, here’s what I recommend:

-Knit up a small swatch and take your measurements; I usually knit up one that’s 5x5”, I wouldn’t go much smaller than that

-Felt it in hot (Hot! you can even boil a kettle full and add it in) water, with soap and agitation.  You can do this in your washing machine or by hand, but I have a little bucket washer that I use for the clutches.  I throw tennis balls in there for agitation, you can throw in a towel or some people recommend an old pair of jeans (It has been recommended to place your item in a pillow case to save your washer from all the little pieces of wool fibres that will come off the item, and so it doesn’t plug up your machine)

-Check your swatch every few minutes; at first the item stretches and gets bigger. Don’t worry, it’ll shrink down, I promise!

- You can stop the felting process at any time, you may want to keep some stitch definition, or may want it to felt completely.  You can keep going in the machine or do it by hand. 

-Keep track of how long it’s been in the washer/water, so that you can write it down

-Once you get it felted to your liking, rinse in cold water, reshape it into a square and let it dry

-Once dry, you can measure it and see how much your wool shrank

Once you know how your wool will react, you can make your item to size to account for the felting.  Once you start felting your item, each time you check it you can shape it to what you want.

Just in case you’re not prepared…felting wool smells like you’ve got a wet dog in the house.  It’s not that bad, and it makes me laugh every time. 

Here’s the clutch after felting:


I kept a little bit of stitch definition, but not much.   I kept the flap to just below the bottom of the clutch so that when the clutch is full, the flap will be aligned with the bottom quite nicely.  After felting, I play ‘barber’ and use scissors to trim all the loose  fibres to make the item much more appealing.  This can get a bit messy, just fyi.


The clutch above was a custom order, but here are the other felted clutches available at Knitley Road.  You can see the subtle differences in the final results, they were all made using different wool.


Felted clutches


Now the question is…what do I felt next?


If you felt, show me a picture! post it here or on the Knitley Road Facebook page!


Happy Felting!


Tuesday, June 12, 2012

MojoMonday 245: Graduation card


It’s been quite a while since I played along with Mojo Monday, but when I saw the sketch, I knew it was perfect for a graduation card a friend had asked me to make. 


The graduation cap stamp I have is small, so sometimes I can be hard to incorporate a smaller image as the main focal point.  MojoMonday 245 had two small circles that I knew would be perfect!


I grabbed some Bo Bunny Sweet tooth paper; it’s so bright and cheerful and girly- just what my friend wanted.


Card Recipe:

Base- SU Crumb Cake

Matting and Ink- SU Pool Party

DP- Bo Bunny Sweet Tooth

Baker’s twine- SU Pool Party

Ribbon and stamps- from my stash


The card came together quite quickly- don’t you love when that happens?  I think it’s mostly due to the paper, sometimes it all just ‘clicks’.


Happy Tuesday!

Tuesday, June 5, 2012

A Paper Buffet products now available at Let’s Eat Cake!

Just in case you missed it yesterday on the Facebook page, I’m so very excited to announce that a new line of products will be available at Let’s Eat Cake in Woodstock, Ontario!

I love the idea of working with another local business, and pairing our products just made sense! 


Here’s what you can find at Let’s Eat Cake:

Baby Shower invitations (packs of 12 with envelopes)


Birthday party invitations (packs of 12 with envelopes)

These could be used for other parties, they’re so bright and fun!


I also sent an assortment of new birthday cards, using these bright colours, but I forgot to take pictures of them- oops!


Let’s Eat Cake is a new bakery located at 478 Dundas Street in Woodstock Ontario.  Rene is super talented and makes the most gorgeous cakes for all your party needs, and uber yummy treats such as cookies and cupcakes for any ole day of the week ;)


You can join the Let’s Eat Cake Facebook page here.


Happy Tuesday!


Tuesday, May 29, 2012

Something big is happening...

Stay tuned...


Wednesday, May 23, 2012

Knitley Road: Knitted coffee cup cozies

I’ve knit these up in the past and made coffee-themed gift cards for the Latte Love gift sets for A Paper Buffet, and I’ll likely end up selling these in both stores this upcoming Christmas. Coffee cozies are eco-friendly  (no need for a double-cup) and a great way to keep your hands from burning on your hot beverages.

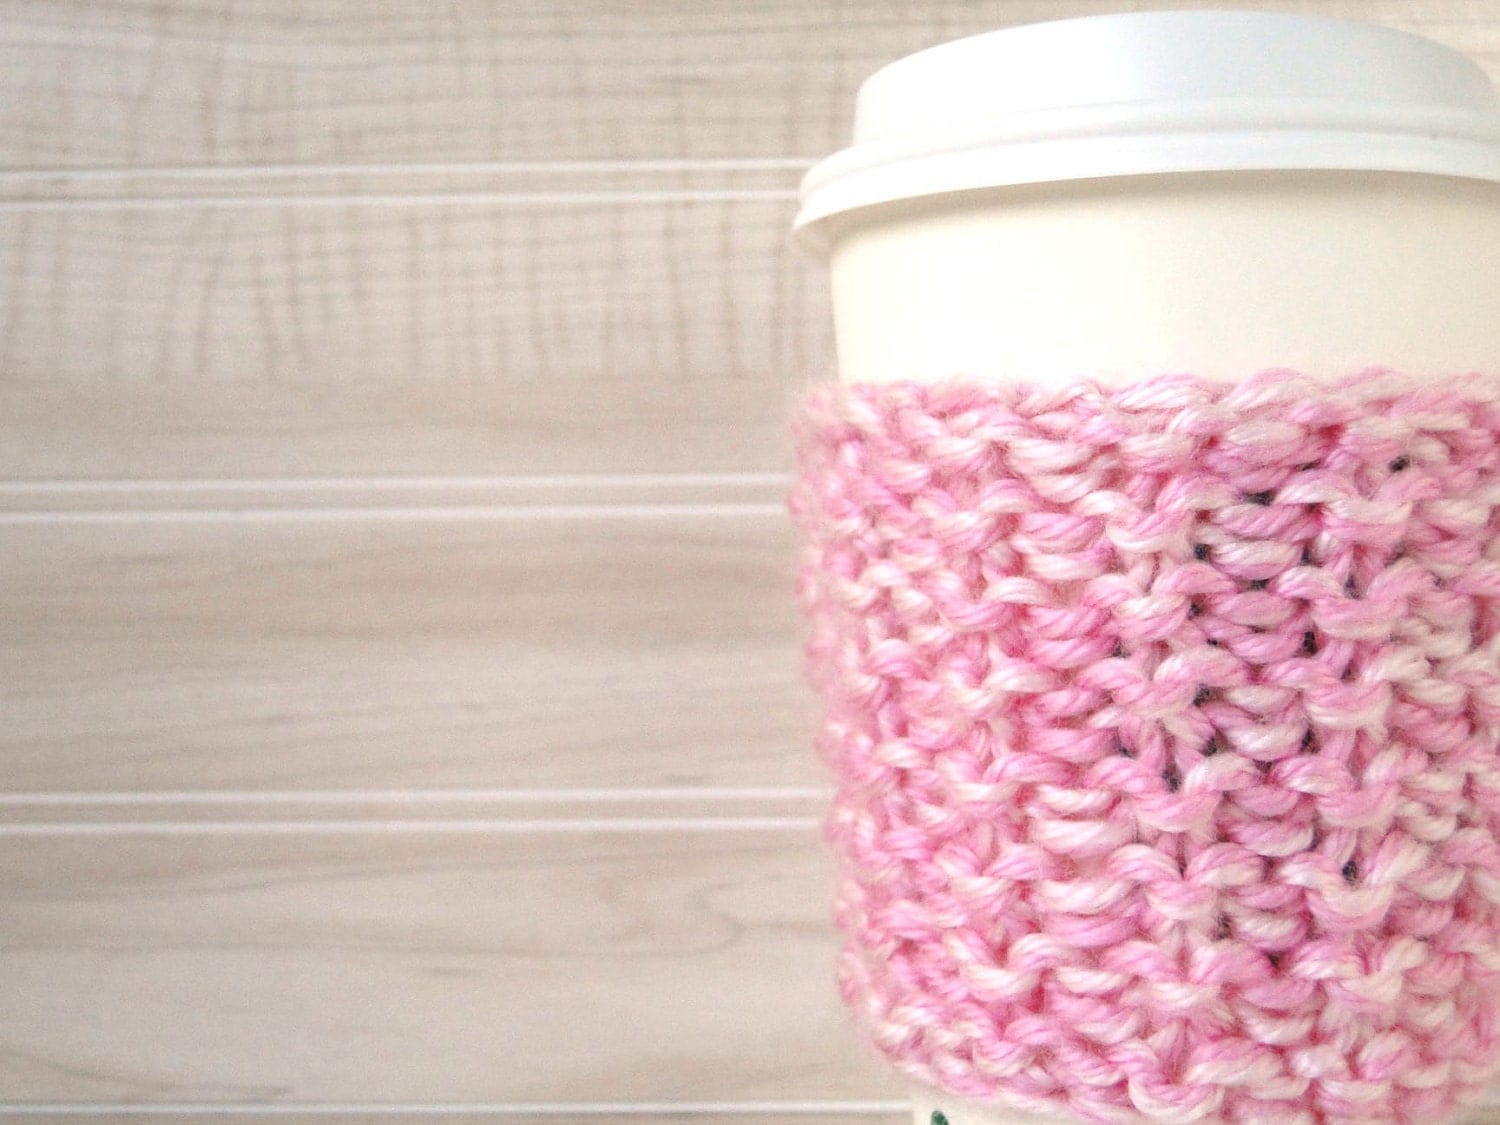
I want Knitley Road items to stand out from other knit items available on Etsy, so I doubled up the yarn and played with colour for these knit coffee cup sleeves/cozies/whatever we call them now.

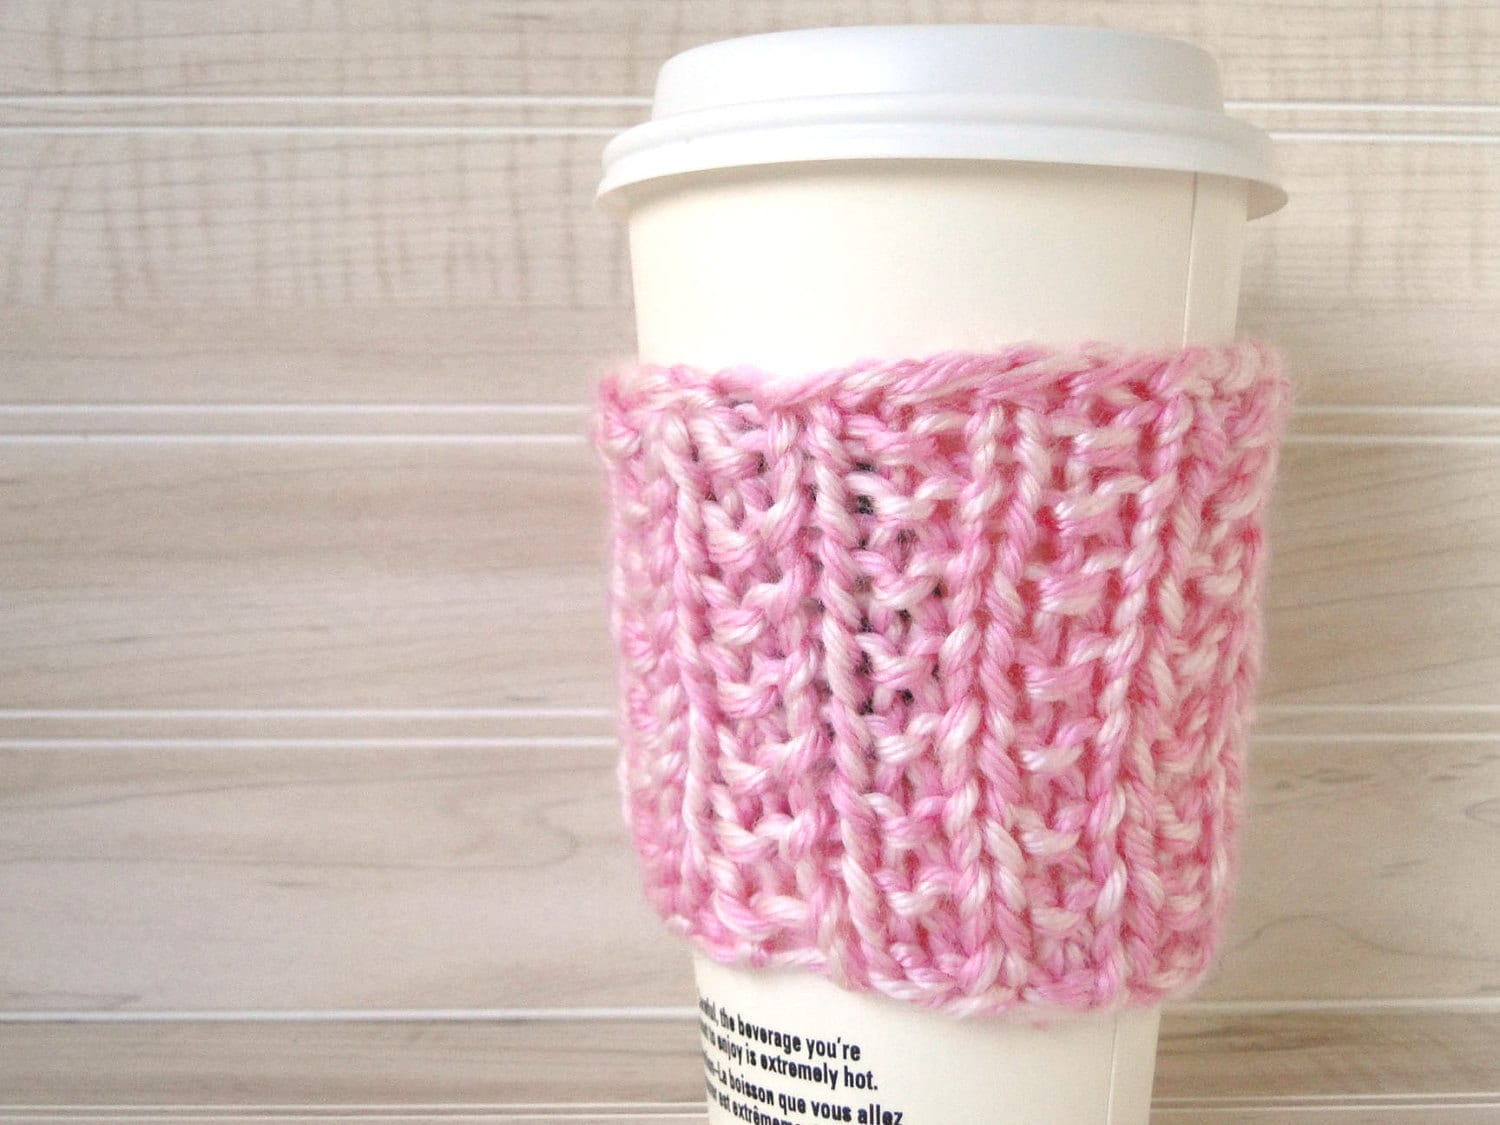
This super girly bubble-gum pink knit coffee sleeve was knit with two shades of pink. I knit it in the round for a seamless sleeve and choose a ribbed stitch to keep it stretchy so it can accommodate different sized cups. I personally prefer this side of the pattern, which is technically the ‘wrong’ side, but I love all the waves the purl stitch makes. 


Here’s the “right” side:

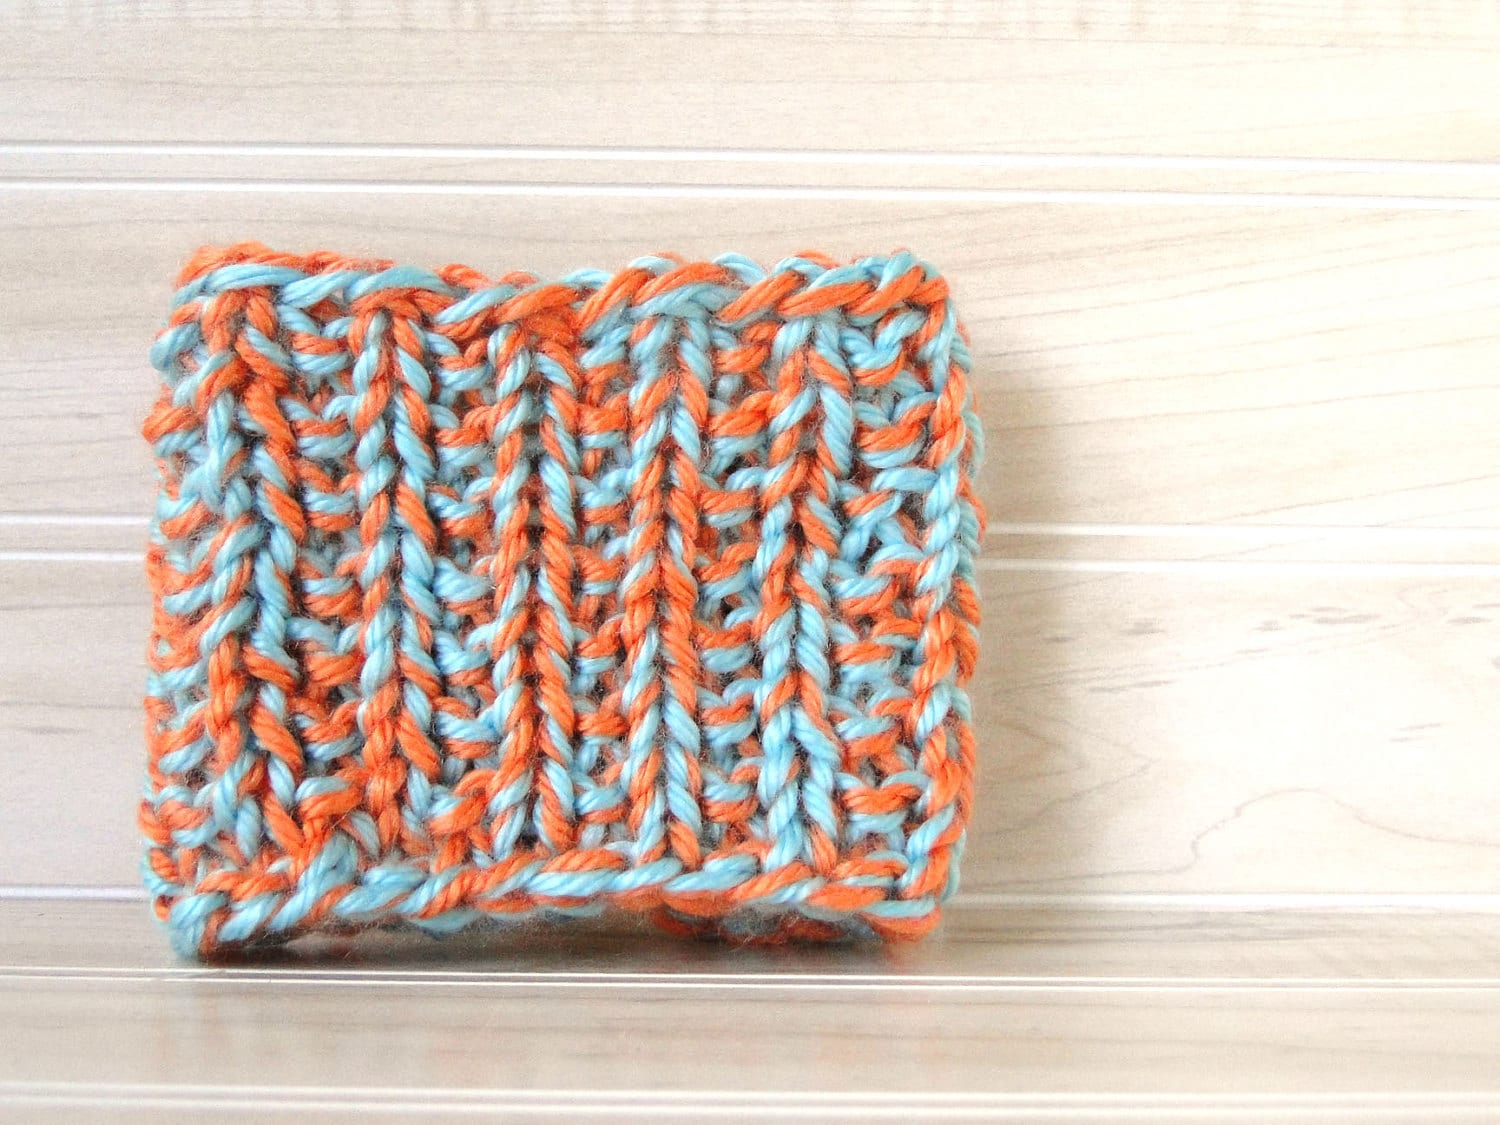
I weaved the ends in carefully along the bound off edge, so you really can reverse this and use both sides.


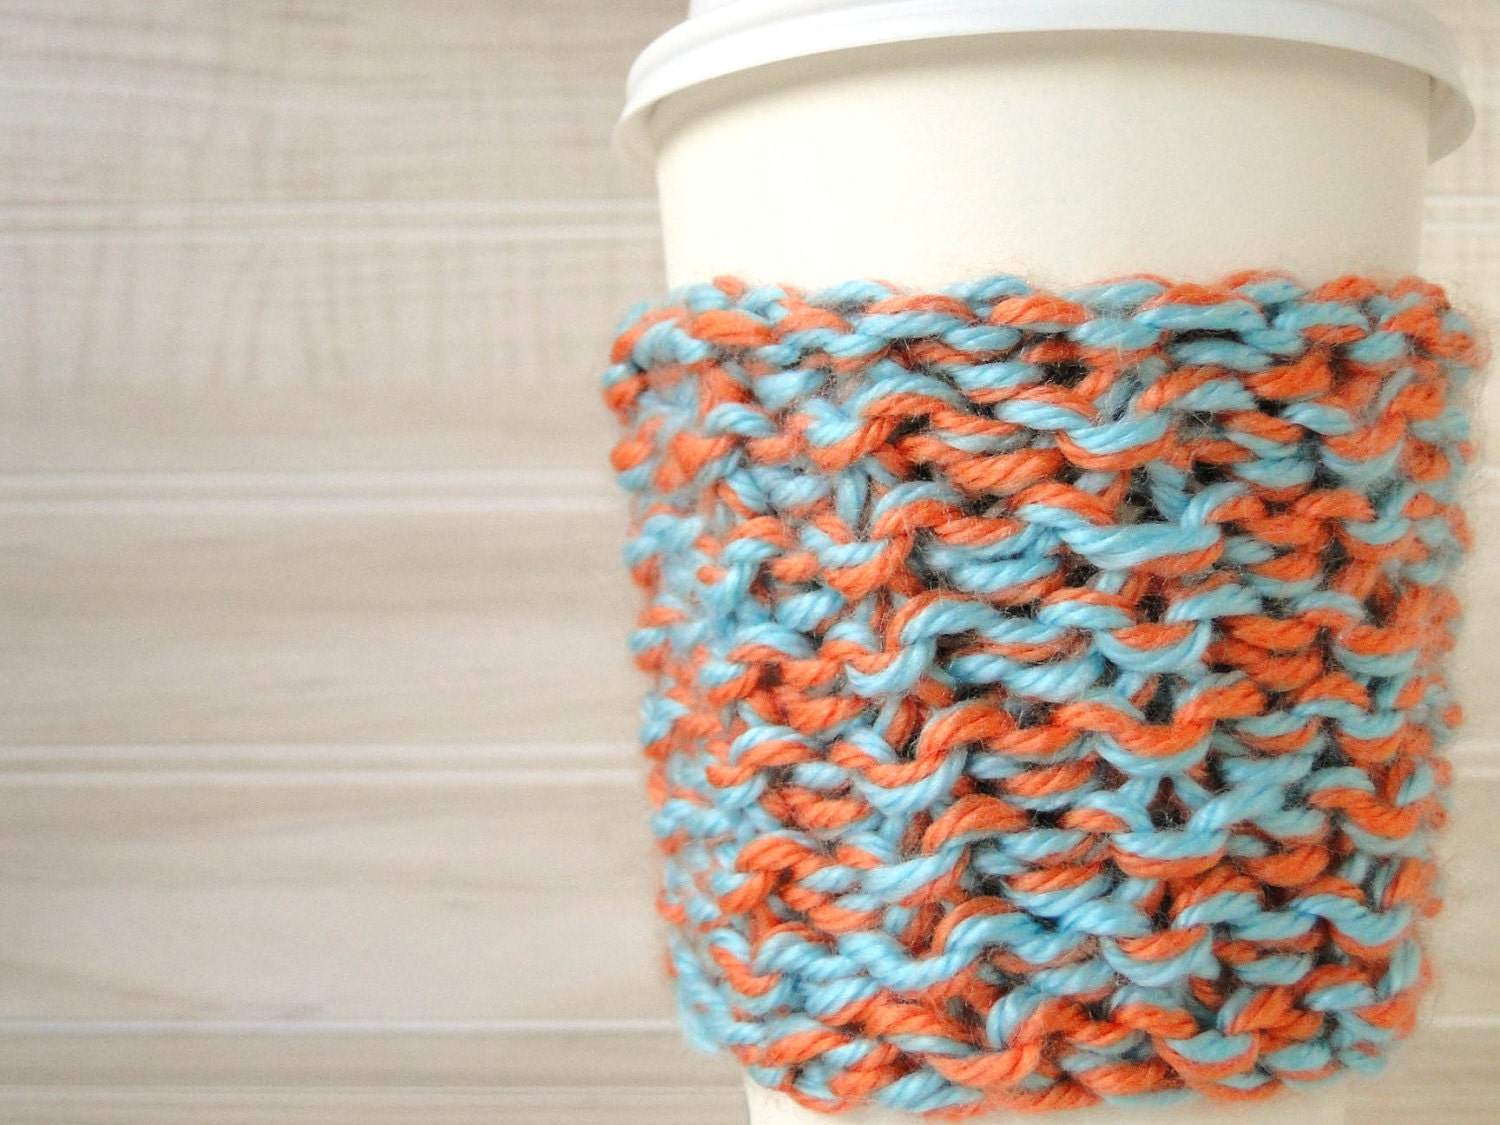
The next one might be my favourite, I mixed teal and orange; I’m really loving this colour combo!

I used the same pattern and again I really prefer this side but again, the cozy is reversible.

The cozies are knit with acrylic yarn making them easy to toss in the washing machine- though I’d recommend putting it in a small mesh laundry bag or hand wash them.


These cozies are available here at Knitley Road on Etsy.

Happy Wednesday!

Twitter Delicious Facebook Digg Stumbleupon Favorites More
This Is A Do-Follow Blog